Drawing a rainbow is one of the most cheerful things you can create. The magic starts with a simple idea: a series of colorful, curved lines. Just grab your reds, oranges, yellows, greens, blues, indigos, and violets, and you're almost there!
Getting your crayons, markers, or pencils all lined up in the correct ROYGBIV order before you begin is my number one tip. For example, place your red crayon on the far left, then orange, then yellow, and so on. This makes grabbing the next color automatic and keeps the whole experience relaxing and fun.
Choosing Your Creative Toolkit
Alright, before we can bring that vibrant rainbow to life on paper, we need to pick our tools. Think of it like a chef getting their ingredients ready! When you have everything in one place, you can just dive into the fun part—creating. A comfy spot with good light also makes a world of difference.
The supplies you pick will really shape how your rainbow turns out. Each one has its own personality:
- Crayons: These are fantastic for that classic, waxy texture. They're super easy for little hands to grip and let you build up color gradually. They're also great for a softer, more blended look.
- Markers: Want your rainbow to really pop? Markers give you bold, solid colors that look bright and clean right away. Choose a set with a good range of colors to get a nice indigo and violet.
- Colored Pencils: If you love getting into the details, colored pencils are your best friend. They give you amazing control for sharp lines and are perfect for blending colors together for a smooth, gradient effect.
Here’s a little secret from my own art projects: think about your paper. Using a thicker paper, like cardstock or mixed-media paper, is a game-changer, especially with markers. It stops the colors from bleeding through and keeps your artwork looking crisp and neat.
Finding the Right Supplies
Picking out art supplies should be just as exciting as the drawing itself! For kids, it’s all about finding tools that are easy to handle and fun to use. If you need some ideas, our guide on the best art supplies for kids has some great, practical recommendations.
Here’s a quick comparison to help you choose the best supplies for your rainbow art project.
Your Rainbow Coloring Tool Options
| Tool | Best For | Pro Tip |
|---|---|---|
| Crayons | Young artists and creating soft, textured looks. | For a solid color, fill the arc with small, overlapping circles instead of back-and-forth lines. This prevents white spots from showing through. |
| Markers | Bold, vibrant colors that stand out. | Use the side of the marker tip to fill in large areas with consistent, one-direction strokes to avoid streaky lines. |
| Colored Pencils | Precise details and smooth blending. | Keep a sharpener handy for crisp outlines. For coloring, use light pressure and build up color in layers for a rich, non-waxy finish. |
Choosing your favorite tool is half the fun. Once you're all set up, you're ready to make some rainbow magic.
And if you’re feeling a bit more high-tech and want to create your rainbow on a screen, checking out the best digital art software for beginners is a great place to start. Getting your toolkit ready, whether physical or digital, makes sure your creative flow is smooth from the very first arc to the final fluffy cloud.
Drawing Your First Rainbow Arc
Every great rainbow begins with that first, perfect curve. This is the big, outer red band, and it acts as the guide for all the other colors that will follow. Getting this one right makes the rest of the process a breeze.
Don't feel like you have to draw it freehand right away! A fantastic, actionable trick is to grab something round from around the house. A dinner plate, the lid from a large Tupperware container, or a small bowl all work wonders. Just set it on your paper, hold it firmly with one hand, and trace the top half with your pencil. This guarantees a perfectly smooth curve every time.
Of course, if you're feeling adventurous and want to draw it by hand, go for it! The secret is to rest the side of your hand on the paper to keep it steady. Try to make the arc in one fluid motion, pivoting from your elbow rather than your wrist for a more consistent curve.
My Pro Tip: Always, always start with a light pencil line. This is your chance to get the shape just right without any pressure. You can erase and adjust it as much as you need to without messing up your final drawing. A good foundation is everything.
This simple infographic shows you how to get your art station ready to go.
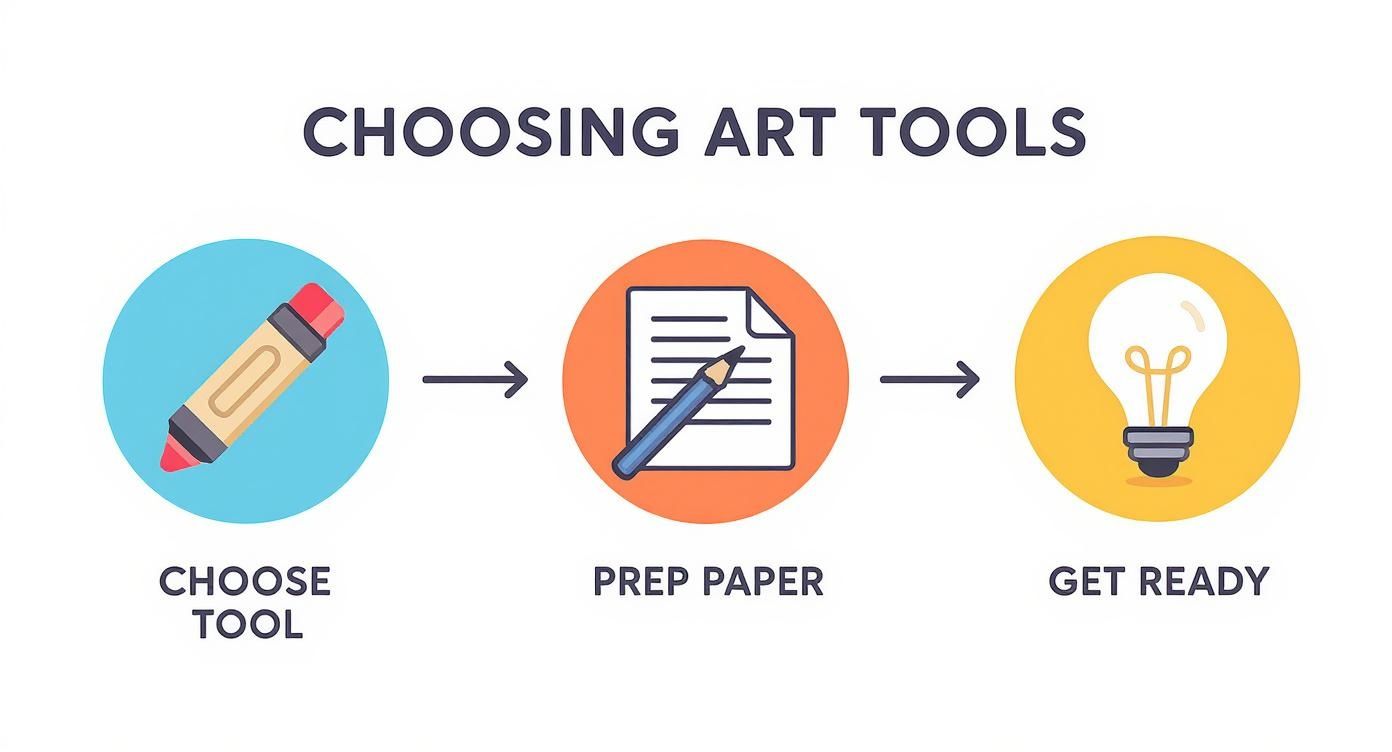
Having your tools picked out and your paper ready means you can focus completely on making that beautiful first arc.
Keeping Your Line Steady
Now that you've got your pencil guide, it's time to lay down that first bold stripe of red. This arc sets the standard for the whole rainbow, so let's make it look fantastic.
Using Colored Pencils? Use light, even strokes to build up the color. A practical tip is to rotate your paper as you color along the curve. This keeps your hand in a comfortable position and helps maintain consistent pressure for a smooth look.
Working with Markers? The key here is to color in one direction. If you scrub back and forth, you'll end up with ugly streaks. A single, confident stroke following the curve gives you that solid, vibrant pop of color. Try using the side of the tip, not just the point.
Grabbing Crayons? I've found that small, circular motions are the best way to fill in the space. This helps spread the crayon wax evenly and avoids those little white gaps, giving you a rich and full-looking color band. For a crisp edge, outline the arc first, then fill in the middle.
The goal here is a clean, confident red arc. Since every other color will nestle right up against this one, taking a little extra care now will make a huge difference in the end.
Bringing Your Rainbow to Life With Color
Okay, you've got your first red arc down. Perfect! Now for the really fun part—adding all the other colors that make a rainbow so magical. We're going to draw each new color right underneath the last one, creating those beautiful, parallel bands.
The classic order of rainbow colors is something many of us learned as kids using the name ROYGBIV. It stands for Red, Orange, Yellow, Green, Blue, Indigo, and Violet. This is the sequence that gives a rainbow its iconic look. As you get ready to draw the orange arc, your goal is to keep it the same distance from the red one all the way across.

Here's a little trick I've always found helpful for keeping the lines even: use your pinky finger as a spacer. Just rest the tip of your pinky on the line you just drew and let your pencil or crayon follow along. It’s a simple, actionable way to get those color bands looking uniform and tidy.
Getting the Colors Just Right
Ever wonder why we always see these seven specific colors? We can thank Sir Isaac Newton for that! Back in the 17th century, he was the first to really study and name the colors of the light spectrum. He chose seven, partly because the number seven was significant in many cultures (think seven days of the week). You can discover more about Newton's color theory and how it became the standard we still use today.
Just keep nesting each new color under the previous one. It's that simple!
- Orange tucks in right below the Red.
- Yellow comes next, right under Orange.
- Green follows Yellow.
- Blue fits in neatly after Green.
- Indigo (a very deep, dark blue) is next.
- Violet (a lovely purple shade) is the final arc at the bottom.
Actionable Coloring Advice: When you start filling in the colors, try your best to stay inside the lines you drew. For a clean look, first outline the top and bottom edges of a color band, and then fill in the middle. This "fencing" technique prevents colors from bleeding into each other and makes each band look bold and solid.
Teaching the order of the rainbow is a great way to introduce kids to patterns and sequences. If you're looking for more fun ways to play with color, take a peek at our guide on how to teach kids colors.
And just like that, what started as a simple set of curves has become a brilliant, complete rainbow
Making Your Rainbow Colors Pop
Okay, you've sketched out the perfect rainbow arcs. Now for the fun part—bringing it to life with color! This is where a few simple tricks can make a huge difference, turning your nice drawing into something truly special.
How you color really depends on what you're using. If you've got colored pencils, the secret is to use small, circular strokes with a light touch. If you press down too hard right away, you'll get a waxy, uneven look. Instead, build up the color in gentle layers. This is the best way to fill in all those tiny white specks of paper for a super smooth finish.
Working with markers? The trick here is to avoid streaks. To do that, try to color each entire color band in one go, moving your marker in the same direction. A steady, even pressure from one side to the other will give you a bold, solid block of color that looks clean and vibrant.
Ready to Try Something a Little Fancier?
If you're feeling adventurous, let's talk about blending. Blending is just a cool way of making the colors melt into each other where they meet. It creates a soft, beautiful effect that can make your rainbow look almost like a painting. It sounds complicated, but it's really not!
Here's a practical example of how to blend your yellow and green bands together with colored pencils:
- Step 1: Overlap the Yellow: Color the yellow band as usual, but extend the color a little way up into the green band's area. Use very light pressure for this overlapping part.
- Step 2: Overlap the Green: Now, take your green pencil. Start coloring from the middle of the green band and, using light pressure, color down over the yellow you just laid down.
- Step 3: Burnish with White: For an extra smooth transition, take a white colored pencil and color lightly over the area where the two colors meet. This will mix the pigments together seamlessly.
This same idea works for every color in your rainbow! For even more ideas on mixing and working with colors, check out a comprehensive guide to painting designed just for young artists.
Don't worry about getting it perfect on the first try. Experimenting is part of the fun! The more you play with layering colors, the easier it will get. A well-blended rainbow has a soft glow that looks amazing.
Getting the hang of these coloring tips will give your rainbow a fantastic, polished look you'll be excited to show off.
Bringing Your Rainbow Scene to Life
A rainbow all by itself is lovely, but putting it into a scene is what really tells a story. Now we get to build a whole world around your beautiful colors! This is how you take a simple drawing and turn it into a unique piece of art with tons of personality.
You don't need to draw anything complicated. In fact, some of the best additions are the easiest to create! Think about what you see in the sky on a rainy, sunny day. Here are some actionable ideas:
- Fluffy Clouds: Draw two or three connected, bumpy "U" shapes at each end of the rainbow. For a 3D effect, make the bumps on the top of the cloud larger than the ones at the bottom.
- A Cheerful Sun: A bright, happy sun is a perfect touch. Tuck a simple yellow circle halfway behind one of the clouds, then draw alternating long and short straight lines for sunbeams.
- Green Rolling Hills: Draw a long, wavy line across the bottom of the page. To create depth, draw another wavy line behind the first one that is slightly higher. Color the back hill a slightly darker green than the front one.
Making the Scene Your Own
This is where your imagination can really run wild. The little details you add are what make your drawing completely yours. You could sprinkle tiny red and yellow flowers on the hills, draw three "V" shapes for birds soaring in the sky, or even add a little square house with a triangle roof in the distance. These small touches bring everything to life.
Did you know that when you draw a rainbow in the sky, you're doing something people have done for thousands of years? Some of the earliest art ever found includes rainbows painted on rocks. For ancient cultures, seeing a rainbow was a huge deal—it was a powerful sign that much-needed rain was coming. You can learn more about the rainbow's history in art on Art24.com.
This is your chance to get creative with more than just the rainbow itself. If you're looking for some fun ideas, take a peek at our collection of free printable rainbow coloring pages and see all the different worlds other artists have created.
Whether you just add a simple blue sky or go all out with a detailed landscape, giving your rainbow a home makes your artwork feel complete.
Answering Your Rainbow Drawing Questions
It's totally normal to have a few questions pop up when you're drawing something new. Let's go over some of the most common ones I hear from budding artists when they're tackling their first rainbow.
Do I Really Need All Seven Colors?
Nope, you absolutely don't! While the classic ROYGBIV is what we learn in science class, your rainbow is your own piece of art.
Honestly, a lot of the most charming rainbows—especially those drawn by kids—look fantastic with just five or six colors. A practical tip is to simply leave out indigo, which is very close to blue anyway and can be a tricky color to find in a basic crayon set. You can even create a pastel rainbow using lighter shades of the main colors.
It's pretty fascinating how powerful the rainbow color scheme is. It's so recognizable that scientists and designers often use it in charts, even when other color combinations might actually be easier to read. Its connection to beauty and diversity makes it a go-to choice. If you're curious, you can see how rainbow colors are used in data visualization and learn how its appeal goes way beyond a simple drawing.
What's the best trick for keeping my arcs parallel?
Here’s a little secret I always share: draw the biggest (outer red) arc and the smallest (inner violet) arc first with a light pencil. Think of them as your boundaries. Once you have that framework, it’s so much easier to fill in the other colors and keep all your lines looking neat and evenly spaced.
Ready for your next creative adventure? Colortada has a massive library of free coloring pages waiting for you. From magical rainbows to beloved characters, there's something perfect for artists of any age. You can check out the entire collection at https://www.colortada.com.
