Ready to draw a car? It’s way easier than you think! The big secret is that even the coolest cars are just a bunch of simple shapes put together. I'll walk you through how to draw an awesome, simple car with just a few basic tools. This is a perfect starter project for any young artist, and with these actionable insights, you'll be creating your own car in no time.
Getting Started: Your First Shapes
Every great drawing starts with the right gear. Don't worry, you won't need a professional art studio for this.
Before we put pencil to paper, let's make sure you have everything you need. Here's a quick checklist of the essentials, plus a few extras if you want to get creative with color.
Your Simple Car Drawing Toolkit
| Tool | Why You Need It | Pro-Tip |
|---|---|---|
| Pencil | For sketching your car's main shapes. | Use a light touch at first. It makes erasing mistakes much easier! |
| Paper | The canvas for your creation! | Any plain paper works. Printer paper is perfect. |
| Eraser | To clean up any lines you don't need. | A good quality eraser won't smudge your drawing. |
| Optional: Colors | To bring your car to life! | Crayons, markers, or colored pencils all work great. |
Got your tools? Awesome! Now, let's get drawing.
The very first step is to create the car's foundation. Here's a practical example: Draw a long, flat rectangle for the car's body. Make it about twice as long as it is tall. Then, draw a smaller, more square-like rectangle on top of it, but place it towards the back half of the bigger rectangle. This will become the cabin where the driver sits.
Believe it or not, even professional car designers start with basic shapes. It's a huge industry, with the global automotive design market valued at USD 37.4 billion! They just take these simple forms and add more and more detail.
If you're having fun and want to keep learning, you can find more beginner techniques here: https://www.colortada.com/free-coloring-pages/drawing-for-beginners. For even more inspiration, check out some of the best books about illustration to see what else you can create.
Giving Your Car Some Shape and Wheels
Alright, let's turn those boxes into something that actually looks like a car. Instead of sharp corners, you want to make the car look sleeker. Here’s an actionable tip: Erase the vertical line at the front of the top rectangle. Now, draw a soft, slanted line from the top-front corner of that small rectangle down to the front of the big rectangle. This creates your windshield. Do the same for the back window with another curved line. See? It already looks less like a stack of blocks.
Now for the fun part—the wheels! Go ahead and draw two circles along the bottom of the big rectangle. They don't have to be perfect, but try to make them roughly the same size so your car doesn't look wobbly.
My Favorite Trick: If you want perfectly round wheels, grab a coin or a bottle cap from the kitchen. You can just trace around it! It’s a super easy way to make your car look like it's ready to hit the road.
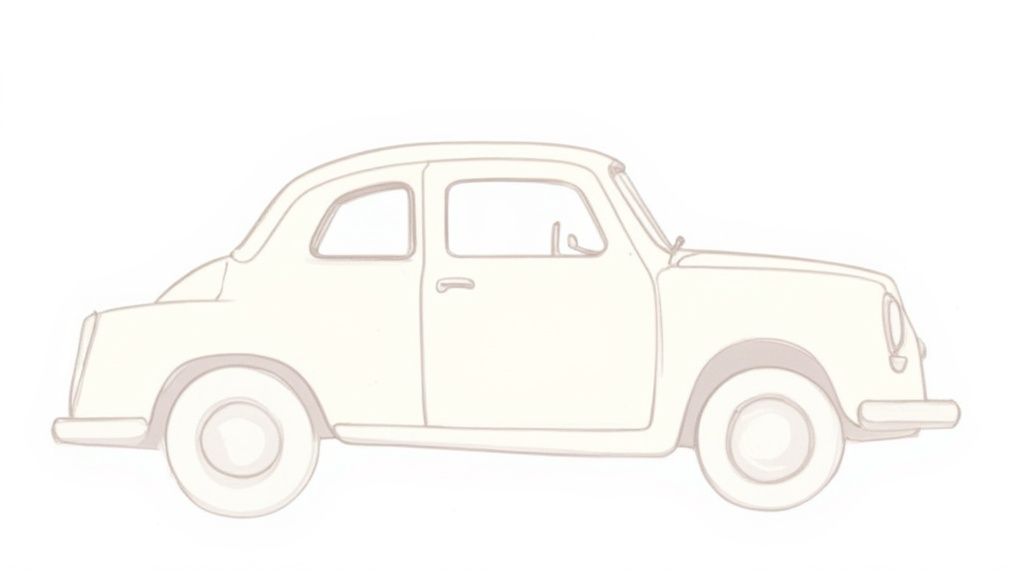
This is all it takes to get the basic car shape down.

As you can see, we're just a few simple steps away from a finished drawing. Once you have the outline, if you're looking for cool ideas for adding details like headlights or racing stripes, check out some free coloring pages featuring line art. They're great for seeing how simple lines can create awesome designs.
Time to Add Windows and Doors
Okay, your drawing has a body and wheels, so it's definitely starting to look like a car! Now for the fun part: adding the details that really bring it to life. Let's start with the windows.
Inside that top shape—the car's cabin—draw two windows. Here's an actionable tip to make them look realistic: Draw a vertical line in the middle of the cabin space to divide it into two windows. This gives the impression of a front and back seat window, making it look more like a real car.
Next up is the door. On the bigger, bottom rectangle (the main car body), just draw a straight line down from the new window divider to the bottom edge of the car. It’s that easy! To finish it off, pop a tiny horizontal rectangle on the door for a handle.
It's these little details that make every car feel special. That's a big reason why the market for customized cars is actually growing by 4.2% every year! People love making their cars unique, just like you're doing with your drawing. You can read more about how people customize their cars if you're curious.
Time for the Fun Details!
Okay, here's where your car really starts to come to life. We've got the basic shape down, but now it's time to add all the little things that make it look like a real car and give it some personality.
Let’s begin with the lights. On the front of your car, draw a small circle for a headlight. On the back, draw a small red square for the taillight. For a more modern look, try drawing a thin, sleek rectangle instead of a circle for the headlight.
Make it Uniquely Yours
This is your chance to get creative. How about a front grille? You can draw a few simple horizontal lines or even a cool crisscross pattern right between the headlights.
What else could we add?
- A small slanted rectangle on the side of the window can be a side mirror.
- A tiny circle on the back fender makes a great gas cap.
- How about a little antenna sticking up from the roof? A simple thin line will do!
- Practical example: For the wheels, draw a smaller circle inside each tire to create hubcaps.
These small touches are what make your car special. It’s a lot like why real sports cars are so cool—their unique designs make them stand out. In fact, the global sports car market is worth a massive USD 24.9 billion, and a big reason is that everyone loves a car with a cool, one-of-a-kind look. You can actually learn more about the growing sports car market on straitsresearch.com.
Bringing Your Drawing to Life with Color
Now for the best part—adding color! This is where your car really gets its personality. What kind of car did you draw? A speedy, bright red race car? Or maybe a cool blue sedan for a family road trip?
The colors you pick tell a story, so have fun with it!

Here's a little trick for getting that super-smooth look: try to color in the same direction. Going back and forth with your crayons or markers in one steady motion helps avoid scribble marks and makes the color look solid and clean.
Here are some coloring advices to make your car pop:
- For a shiny effect: Leave a little white sliver on the windshield and roof. This simple trick creates the look of a reflection, just like on a real car.
- Realistic Windows: Color the windows with a light blue or gray, leaving some white space to suggest a glare. This makes them look like reflective glass.
- Tire and Hubcap Detail: Use a dark gray or black for the tires. For the hubcaps inside, use a silver or light gray color to make them stand out.
- Headlights and Taillights: Color the headlights with a touch of yellow or light gray, and make the taillights a bold red.
To complete the scene, you can draw a simple gray road underneath and a big blue sky to finish your masterpiece! If you need more ideas, check out these awesome car coloring pages for inspiration.
Got Questions About Drawing Cars?
It's perfectly okay to have a few questions when you're just starting to draw cars. A lot of kids ask how to make their car look like it's really moving or what to do if their lines come out a bit wobbly.
My Favorite Tip: Don't stress about getting every line perfect! Every single artist, even the pros, started out with shaky lines. The secret is to practice drawing with light, fast strokes instead of pushing down hard on your pencil. This little trick helps build your confidence and makes your drawings look way more relaxed and natural.
Once you’ve got this simple car down, you can start playing around with the shapes to create all sorts of different vehicles. For example, what if you made the body longer and lower to the ground? You'd have a cool sports car! Or, try making it taller and more like a box, and suddenly you've drawn a truck. The possibilities are endless!
For thousands of fun coloring pages and drawing guides, check out Colortada at https://www.colortada.com.
