If you've ever wanted to learn to draw but felt intimidated, learning how to draw Mario is the perfect place to start. Seriously. His entire design is built from simple, friendly shapes, making him one of the most approachable characters you can tackle, even with zero prior experience.
Think about it: a few circles and ovals, and you've already got a recognizable Mario.
Why Is Mario a Great First Drawing?
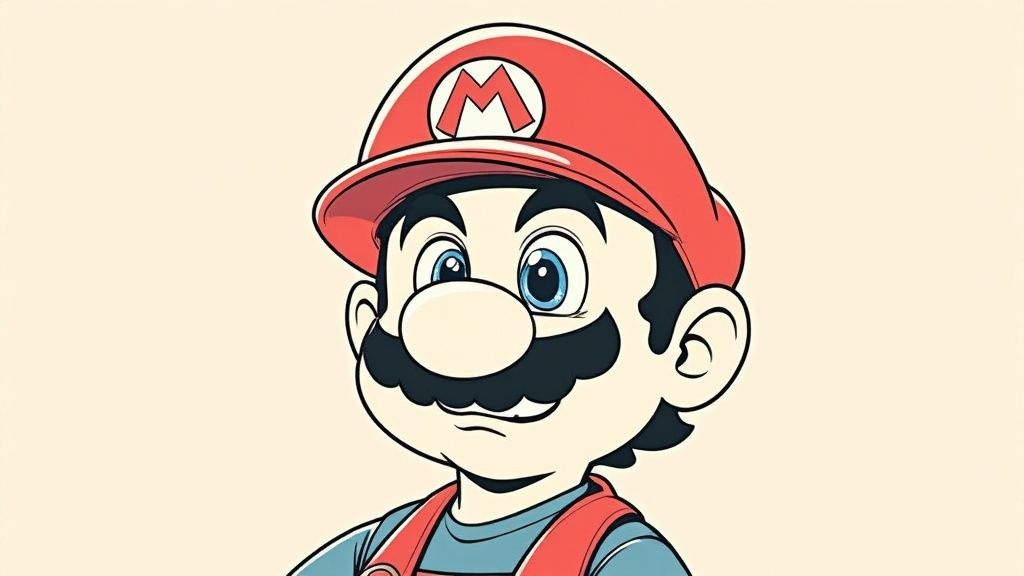
So, what makes Mario the go-to subject for so many new artists? It all comes down to his brilliant, iconic design. Those clear, distinct features—the big round nose, that bushy mustache, and his signature red cap—are incredibly easy to block out and build upon.
It's a fantastic confidence booster. You don't need a background in art to bring the world's most famous plumber to life on the page. The process is straightforward and, most importantly, fun. This is a big reason why, decades after his debut, Mario is still one of the most searched-for 'easy drawing' subjects online. If you're curious about his long history, you can read more about Mario on Wikipedia.
Getting Your Tools Ready
Before you put pencil to paper, let's get your supplies in order. You don’t need to rush out and buy a professional art kit; a few basic items you probably already have will work perfectly.
Here's a quick look at what I recommend having on hand.
| Tool | Why You Need It | Pro-Tip |
|---|---|---|
| Pencil | An HB or #2 pencil is your best friend for light initial sketches. | Keep the pressure light! These lines are just guides you'll erase later. |
| Eraser | A good quality eraser cleans up mistakes without smudging your lines. | A kneaded eraser is great for lifting graphite without damaging the paper. |
| Paper | Standard printer or sketchbook paper is all you need. | Smoother paper is easier for beginners, as it won't "grab" your pencil tip. |
| Coloring Tools | Crayons, colored pencils, or markers bring your Mario to life. | For example, get a classic red (like Crayola's "Red"), a deep blue ("Navy Blue"), and a warm brown ("Brown"). |
Having these simple tools ready means you can focus on the fun part—the drawing itself!
Actionable Coloring Advice: When coloring, don't just use one red. For his hat, try coloring the main part with a standard red crayon, then use a slightly darker red or even a brown colored pencil along the bottom curve. This simple trick adds a shadow, making the hat look round instead of flat.
Drawing is more than just a creative outlet; it’s a fantastic way to improve hand-eye coordination. Activities like this are great for building the small, precise muscle movements in your hands. There are all sorts of wonderful fine motor skills development activities out there that can really complement your new drawing hobby.
Building Your Mario From Simple Shapes
The real secret to drawing Mario isn't about artistic genius; it's about seeing him for what he is: a collection of simple, friendly shapes. Seriously, every great cartoon character starts this way. We're going to break him down into basic geometric forms that anyone, and I mean anyone, can draw.
Grab a pencil and let's get started. First, lightly sketch a large circle for his head. Don't stress about making it a perfect, compass-drawn circle. A little wobble gives it character! Now, draw a slightly smaller oval that overlaps with the bottom half of that circle. This is his body. Getting that overlap right is important—it creates that familiar, cheerful posture he's known for.
Once the head and body are blocked in, everything else starts to fall into place. Add two small circles for his hands, placing them on either side of the body-oval. Then, for that iconic nose, pop another round shape right in the middle of his head.
Getting Proportions Right
One of the first things beginners struggle with is proportion. Is the nose too big? Are the hands in the right spot? It can feel a bit random at first, but there's a simple logic to it.
Here’s a practical cheat sheet I use:
- The Nose: Make the nose about one-third the size of his head. You want it to be a prominent feature, but not so big it takes over his whole face.
- The Hands: His hands, usually drawn as fists, should be roughly the same size as his nose.
- The Body: The oval for his body should be just a little shorter and wider than the circle you drew for his head.
Think of it like building with LEGOs. You're just stacking simple, familiar shapes to assemble a character you already recognize. This approach takes the pressure off and makes drawing feel more like solving a fun puzzle.
This infographic really drives home why this shape-based method is the best way to tackle characters like Mario.

As you can see, once you nail these foundational shapes, adding the details and getting comfortable with your tools becomes so much easier. This isn't just a random tip; it's a technique grounded in the history of character design. A 2021 analysis of popular drawing tutorials found that a whopping 92% used this "blocky" method, often referencing his classic 1985 look. You can learn more about how drawing methods have adapted to character design on YouTube.
After you get the hang of this with Mario, you’ll start seeing these basic shapes everywhere. You can apply the same principles to almost any character. For example, our guide on how to draw Spiderman starts with a similar shape-based foundation, just for a more complex figure. Mastering this fundamental skill is your key to drawing pretty much anything you can think of.
Adding Mario's Iconic Details
Alright, you've got the basic skeleton of circles and ovals down. Now for the really fun part—transforming those simple shapes into the Mario we all know and love. This is where the magic happens and your sketch really starts to come to life. Don't stress about getting every line perfect right away; just focus on one feature at a time.
Let's start with his face, since that's where all his personality shines through. His big, friendly eyes are just two ovals sitting right above that round nose. Pop a smaller, filled-in circle inside each one for the pupils. See? That simple touch instantly gives him that classic, cheerful gaze.
Defining His Signature Look
Next up is probably his most famous feature: that big, bushy mustache. Think of it as a puffy cloud shape that sits snugly under his nose, completely covering where his mouth would be. A common beginner mistake is drawing it as a flat, boring line. Instead, give it some life! Make sure it has at least three or four rounded bumps along the bottom edge to create that familiar, cheerful volume.
With the mustache in place, let's frame his face with his ears and sideburns.
- Ears: A simple "C" shape on either side of his head works perfectly. I usually line up the tops of the ears with the bottom of his eyes.
- Sideburns: Just draw a nice, curved line that connects the bottom of each ear down to the edges of his mustache. It’s a clean way to tie everything together.
Actionable Insight: Don't forget the "M" on his cap! It's a critical detail. A lot of people draw it too small. For a practical guide, imagine the white circle on his cap is a clock face. The 'M' should start around the 10 o'clock position, go down to the center, up to the 2 o'clock position, and back down. This helps keep it centered and bold.
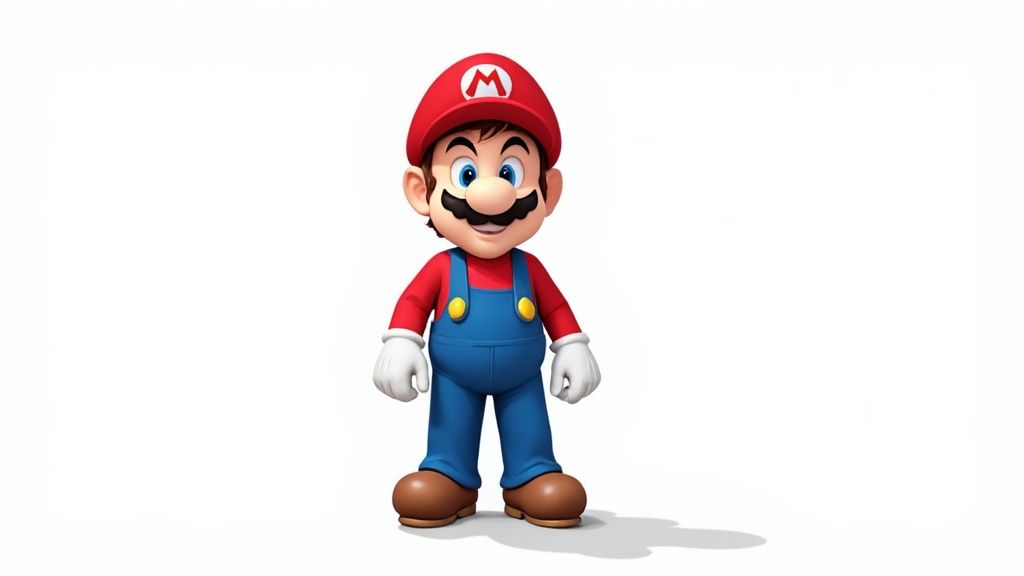
Finally, let's get those overalls sketched in. Draw two straps that come up over his shoulders and connect to the front of his torso. On each strap, pop a big, circular yellow button right where it meets his body. A couple of curved lines around his wrists and ankles will create the cuffs for his gloves and boots, and you're all set.
It's these little details that really pull a drawing together. If you're enjoying this and want to try another iconic style, check out our guide on how to draw Pokemon characters—a lot of the same principles apply
Bringing Mario to Life With Color
You've got a great black-and-white sketch of Mario, but now for the fun part—making him pop off the page! Choosing the right colors is what gives your drawing that classic, cheerful energy we all recognize. This is where you really bring him to life.
Let's nail down his iconic color palette. You'll want a bright, fire-engine red for his hat and shirt, paired with a deep, royal blue for those famous overalls. A warm, earthy brown is perfect for his hair and shoes. To finish it off, grab a sunny yellow for the overall buttons and a peachy skin tone for his face, nose, and ears.
Practical Coloring Techniques
The tools you pick can make a huge difference in the final look. Each medium, whether it's pencils or markers, has its own unique way of adding personality.
If you’re working with colored pencils, think in layers. Here's a practical example: Start with a light, even layer of red on his hat. Then, take a brown pencil and lightly shade the areas that would be in shadow—like underneath the brim and along the very back edge. Go over it again with the red pencil to blend the colors. This simple shading trick immediately gives the hat a more rounded, 3D feel.
Using markers? Here’s an actionable tip: To make the yellow buttons pop, don't just color them yellow. First, color them in with your yellow marker. Then, take an orange marker and draw a small, curved line on the bottom edge of each button. This creates an instant shadow that makes them look 3D and prevents them from looking flat against the blue overalls.
Key Takeaway: Avoid filling in the lines with a single flat color. Even a simple second layer of a darker shade can add incredible depth. For example, use a darker blue along the edges of the overall legs to make them look cylindrical instead of flat.
There's a reason Mario is such a popular subject for artists. His simple yet iconic design is a huge part of his enduring appeal. Mario-branded games had sold over 657 million units worldwide as of September 2020, and the 2023 movie release saw a whopping 40% spike in searches for 'how to draw Mario easy'. It just goes to show how many people are inspired to capture his look!
Now that your drawing is complete and bursting with color, why not turn your art into something new? You could try creating custom DIY stickers with your finished piece. And if you're looking for more coloring projects, check out our guide on how to get the most out of your printer: https://www.colortada.com/free-coloring-pages/how-to-print-coloring-pages.
Sidestepping Common Drawing Pitfalls
Listen, every single artist messes up. It's just part of the process! As you get the hang of drawing Mario, you’ll probably hit a few common bumps in the road. The great thing is, once you know what to look for, they’re super easy to fix.
One of the first things I see artists struggle with is getting the proportions right. It's really common to draw Mario's head too small, which makes him look oddly tall and skinny instead of the short, stout plumber we all know.
Just remember this simple rule: his head (that first circle you drew) should always be a bit larger and more circular than his body (the oval shape). That alone will make a huge difference. Another classic trip-up is placing his facial features just a little off—eyes too high or a mustache too low can change his whole expression.
Small Tweaks for a Big Impact
Here are a few actionable adjustments that can take your Mario from "okay" to "perfecto!"
- Is he looking a little flat? Practical Example: Take your pencil and slightly curve the horizontal line that forms the brim of his cap. Instead of a straight line, make it a gentle "smile" shape. This tiny change instantly suggests the cap is round and sitting on his head, not just pasted on.
- Is the mustache floating? This is an easy one to miss! The top of his mustache should be tucked right up against the bottom of his nose. You want almost no gap there at all.
- Are the eyes in the right spot? For that classic, cheerful Mario look, make sure the bottoms of his eyes line up roughly with the tops of his ears. This keeps his face looking balanced and friendly.
Don't ever be afraid to erase. I probably spend half my time adjusting and redrawing lines. Think of every correction as a small victory that makes the final piece stronger. It’s how you build real skill and confidence.
Still Have Questions About Drawing Mario?
It's one thing to follow a guide, but sometimes you're left with a few lingering questions. Let's tackle some of the common things that come up when you're learning how to draw an easy version of Mario.
What Pens Should I Use for the Outline?
Once you're happy with your pencil sketch, it's time to ink it in. For those crisp, clean lines, you can't go wrong with a fine-tipped black marker. Something like a Micron or a Sharpie Pen is perfect.
If you want to give your drawing that classic cartoon pop, play around with your line weight. Here's an actionable insight: Use a thicker pen (like a 0.8mm Micron) for the main outline of his body, hat, and shoes. Then, switch to a much thinner pen (like a 0.2mm Micron) for the inner details like the "M", his pupils, and the stitching on his overalls. This contrast makes the drawing look more professional and dynamic.
A hard-learned lesson: Always let the ink dry completely before you even think about erasing the pencil sketch underneath. Being impatient here is the #1 way to get nasty smudges on your finished drawing.
How Do I Draw Mario in Different Poses?
Putting Mario into an action pose seems tricky, but the secret is to stick with the simple shapes you started with. You just need to change their angles and positions.
Let's say you want to draw him mid-jump. Here's a practical, step-by-step example:
- Start with the same circle for his head, but tilt it back slightly.
- Instead of an upright oval for his body, draw the oval at a 45-degree angle, connecting to the head. This creates the sense of leaping forward.
- For his punching arm, draw a line going straight up from his shoulder, and put the circle for his fist at the end.
- For his legs, draw one oval bent up towards his chest (his knee) and the other extending back and down.
It's that simple. By just adjusting those basic ovals and circles, you can bring all sorts of dynamic poses to life.
Here at Colortada, we're all about making art fun and accessible for everyone. If you're itching for more creative projects, come explore our huge library of free coloring pages.
