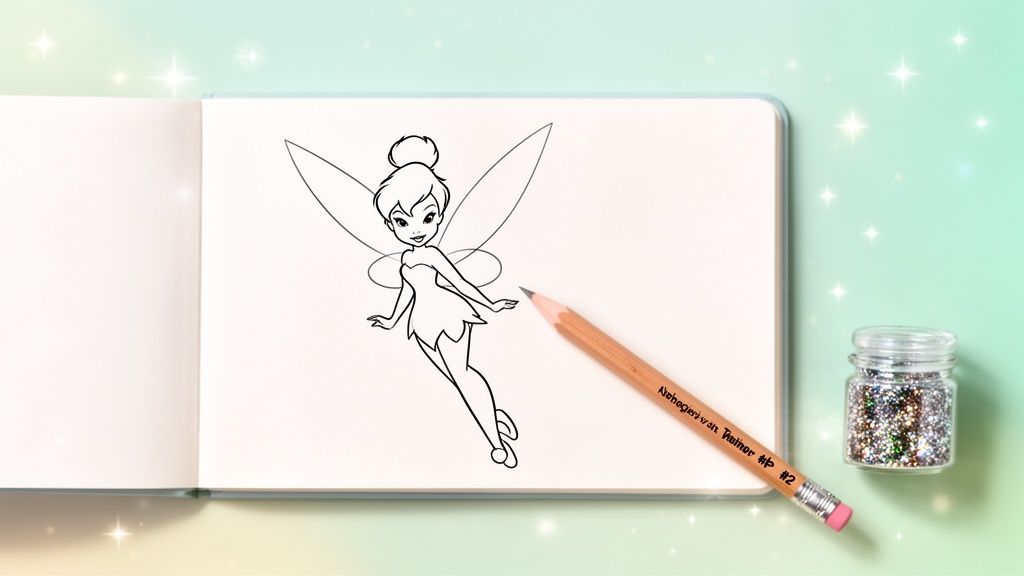
Ready to bring a little bit of pixie dust to your paper? Drawing Tinkerbell is a wonderful project, and it’s easier than you might think. We’ll start with some simple circles and ovals to get her basic form down, then move on to what makes her so unique—that famous hair bun and her delicate, magical wings. The real fun comes in capturing her cheeky little expression before we finalize the drawing.
Let's Draw Tinkerbell! A Fun Guide for Young Artists
Welcome, artists! Today, we’re going to learn how to draw one of Disney’s most beloved characters: the one and only Tinkerbell. This step-by-step guide is perfect for kids and anyone just starting out with drawing. You don't need any fancy supplies, just a pencil and paper and a little bit of imagination.
I'll walk you through everything, from sketching her playful pose and expressive eyes to adding those beautiful, shimmering wings.
Think of this as more than just a drawing lesson; it's a great activity for families to do together and a fantastic way for kids to grow their creative confidence. By the time we're done, you’ll have a fantastic drawing of Tink ready to be brought to life with color. If you're looking for more ideas, checking out collections of Disney-inspired art can be a great source of inspiration.
To help parents and teachers get things going, I've also included a printable outline down below. So, let’s grab our pencils and get started!
Gathering Your Pixie Dust Art Supplies
Before we dive into bringing Tinkerbell to life, let’s get our art station ready. The best part? You probably have everything you need lying around the house. Getting all your supplies together first means you can jump right into the fun without any interruptions.
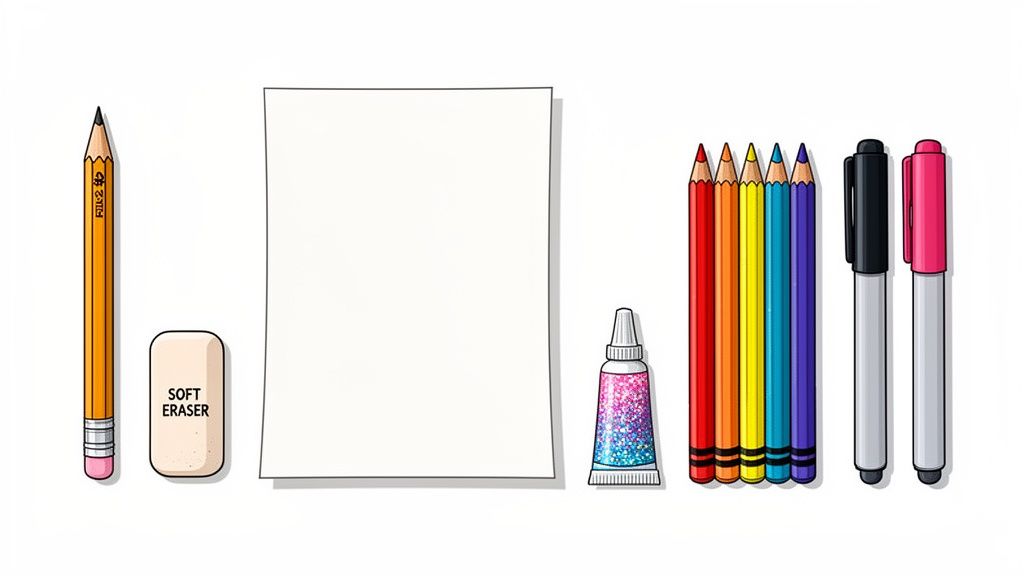
Here’s the basic trio you’ll want to have on hand:
- A Simple Pencil: Any standard #2 school pencil is perfect. The graphite is just right for making light, sketchy lines that are a breeze to erase later.
- A Good Eraser: Look for a soft, smudge-free eraser. Trust me, having one that doesn't tear the paper makes fixing those little "oops" moments so much easier.
- Plain Paper: A sheet of regular printer paper or a page from a sketchbook works beautifully. No need for anything fancy!
Choosing Your Coloring Tools
With your Tinkerbell sketch all done, it's time for my favorite part—adding a splash of color! This is where you can really let your creativity shine.
The tools you pick will give your drawing its own unique personality. Young kids often have an easier time with chunky crayons, while older artists might love the control they get from blending colored pencils. It’s all about finding what works for your little one. Knowing the best art supplies for kids can make all the difference.
Pro Tip: Want to add a truly magical touch? Keep some glitter glue nearby! A few tiny dots on her wings give that classic, sparkly pixie dust effect that kids absolutely love. For example, use a gold or silver glitter pen to trace the veins in her wings for an extra enchanting finish.
To help you decide, I’ve put together a quick comparison of the most popular choices. Each one brings something special to the table.
Choosing Your Coloring Tools
| Tool | Best For | Pros | Cons |
|---|---|---|---|
| Crayons | Younger kids (ages 3-6) | Easy to hold, durable, and won't make a mess. | Less precise for small details. |
| Colored Pencils | Older kids (ages 7+) | Great for details, shading, and blending colors. | Tips can break easily with too much pressure. |
| Markers | All ages | Bright, bold colors and excellent coverage. | Can bleed through thin paper. |
Ultimately, there’s no wrong choice. The goal is to have fun and make a piece of art that you’re proud of.
Sketching Tinkerbell From Simple Shapes
Alright, this is where the real fun begins. Learning how to draw Tinkerbell is all about starting with simple, friendly shapes that anyone can draw. Don't worry about getting all the fancy details right at first. We'll use basic building blocks to put her together. Think of it like playing with LEGOs—you start with simple pieces and end up with something awesome.
We’ll kick things off with an oval for her head, a little triangle for her body, and a circle for that famous hair bun. This approach breaks the whole process down into easy, rewarding steps. As you get comfortable sketching Tinkerbell from simple shapes, you'll find that understanding the foundational principles of visual arts can really take your drawings to the next level.
Laying the Foundation
First up, lightly sketch a medium-sized oval for her head. The key here is to keep your lines light! These are just guidelines we'll erase later on. I like to give the oval a slight tilt to one side; it instantly gives her that sassy personality we all know and love.
Right below the head, draw a small, upside-down triangle for her torso. Make sure the top point of the triangle just barely overlaps with the bottom of the oval. This simple connection is what creates a natural-looking neckline and gives her a bit of posture.
A Quick Tip: Getting the size relationship right between these shapes is super important. Tinkerbell’s head should feel a little large for her body. It’s a classic animation trick to make characters look more expressive and cute.
To finish off our basic frame, just pop a simple circle on top of her head. This is where her bun will go. And just like that, with only three simple shapes, you've laid the entire foundation for your Tinkerbell drawing! This technique is incredibly versatile; in fact, our guide on how to draw a princess jasmine uses a very similar starting point.
Mapping Her Recognizable Features
Now, let's figure out where her face goes. Draw a very faint vertical line down the center of the oval and a horizontal line cutting across the middle. These little guides are your best friends for placing her eyes, nose, and mouth perfectly. Tinkerbell's eyes are big and expressive—they should take up about 20% of her head's total size and sit right on that horizontal line you just drew.
Her unique look was no accident. The legendary animator Marc Davis actually modeled her after actress Margaret Kerry. The final design we all recognize—a blonde, blue-eyed fairy in a zippy green dress with puffy slippers—is what made her so memorable. This iconic look, always leaving a trail of pixie dust, helped Tinker Bell become second only to Mickey Mouse in popularity. In fact, Disney polls show that 85% of children can identify her instantly! By focusing on these key proportions, you’ll capture that same magic. You can learn more fun facts about her creation on The Disney Classics blog.
Bringing Your Fairy to Life with Details
You’ve got a fantastic foundation down. Now for the fun part—adding all the little details that will transform your collection of shapes into the one and only Tinkerbell! This is where her personality really starts to shine through.
Getting the Hair and Face Just Right
Let's start with her most famous feature: that messy bun. Take the circle you drew on top of her head and soften it up. Draw a few swooping lines to show how the hair is twisted and pinned, and don't be afraid to let a few strands fly loose. It's these little imperfections that give her that spunky, playful vibe.
Next, have her pointed fairy ears peek out from her hair. They shouldn't be too big, just delicate little points that frame her face. This is also a great moment to sketch in her sweet, mischievous smile.
As you can see from this breakdown, it all starts with those simple, foundational shapes.
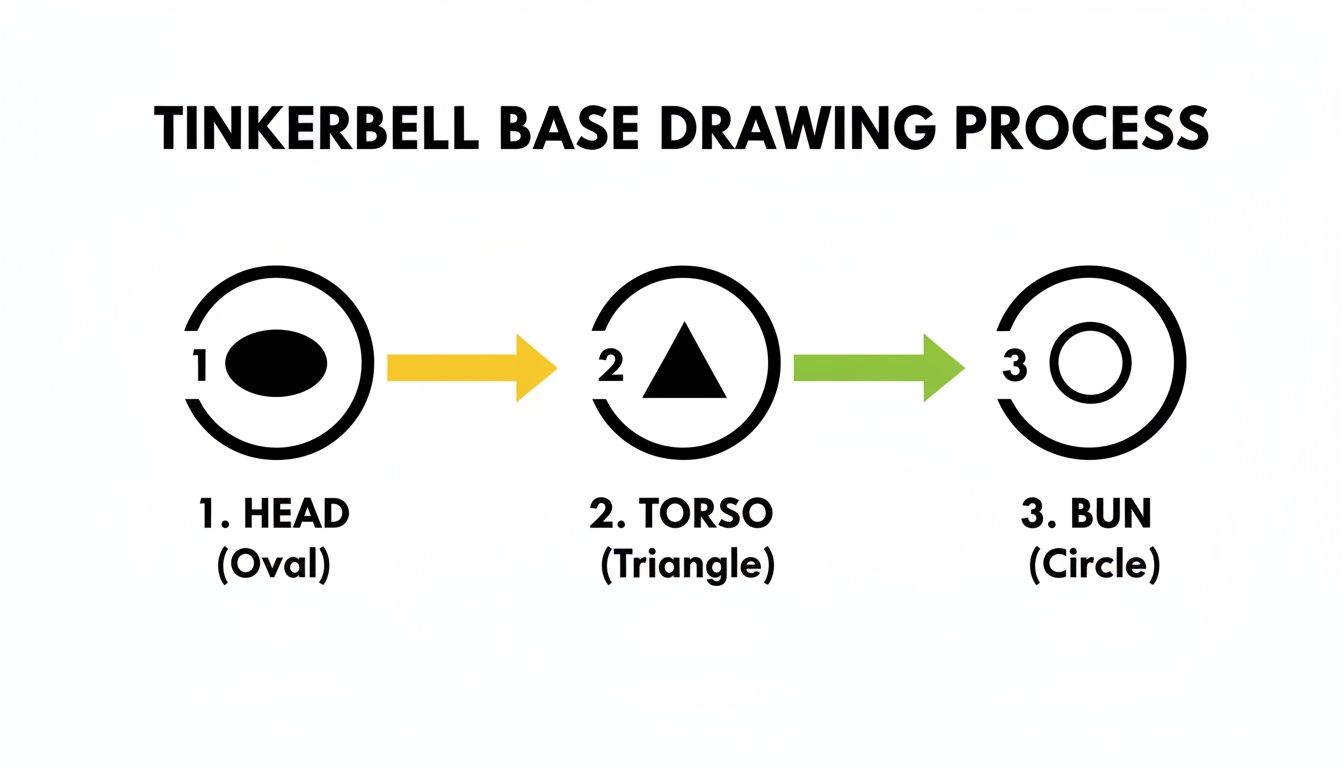
Understanding how the head, body, and bun connect makes adding these finer details so much easier.
Shaping Her Iconic Outfit and Wings
Tinkerbell's dress is famously made from leaves, so let's give the hemline a jagged, zig-zag edge. For a practical example, draw a series of connected 'V' shapes along the bottom of her dress to create that leafy look. You can add a simple line down the middle to hint at the leaf's texture. For her shoes, two small circles for the slippers and a fluffy puffball on top of each one will do the trick perfectly.
Artist's Tip: When you get to the wings, think about a butterfly's shape. The top pair should be larger and more rounded, while the bottom pair is a bit smaller. A few gentle, curved lines inside the wings will give them that delicate, veined look and a real touch of magic.
Getting the proportions right is a little secret to making her look just like the character we all know and love. While Tinkerbell has been around since J.M. Barrie’s 1904 play Peter Pan, her modern look has some key features. Try making her wings feel extra big—about 200% of her body length—and keeping her head around 1/7th of her total height.
I've also found that adding a sparkly trail of pixie dust can boost a child's excitement for their artwork by up to 35% in art sessions! It's amazing what a few dots and stars can do. If you're curious, you can learn more about Tinker Bell's fascinating history and how she became such a star.
Bringing Tinkerbell to Life with Color
Alright, you’ve finished the line art, and your Tinkerbell looks fantastic! Now for my favorite part: bringing her to life with a splash of color. This is where you get to really make your fairy drawing pop right off the page.
To make her instantly recognizable, we'll stick with her classic look. Think of that signature Tinkerbell palette: sunny yellow for her hair, a zesty lime green for her dress, and a soft, shimmery blue for her wings.
Creating Depth and Magic
Here's a little trick I love to use to make a drawing feel more alive. Instead of just one green for her dress, grab two different shades. Use your main, lighter green for most of the dress, and then tuck a slightly darker green into the folds or along one side. This simple step instantly creates shadows and makes the drawing feel more three-dimensional.
For the wings, let's get a little creative to capture their magical glow. Don't just fill them in with one solid color. Here's a practical coloring recipe: start with a light blue base, then gently blend in some white or even a touch of pale yellow near the tips of the wings. This layering gives them that beautiful, ethereal look, just like real fairy wings. Getting comfortable with mixing colors is a great skill, and you can find more tips on how to teach kids colors in a fun way.
My favorite part is always the pixie dust. It’s that final touch that brings the entire drawing to life and adds that extra sprinkle of enchantment.
Adding the Final Sparkle
And now, for the grand finale—the pixie dust! This is what gives Tinkerbell her signature magic.
- Create the trail: Using a bright yellow colored pencil or marker, scatter little dots and tiny starbursts around Tinkerbell, especially near her wand.
- Vary your dots: Make some dots bigger and some smaller. This makes the pixie dust trail look like it’s actually swirling through the air.
- Add some real sparkle: This is a showstopper. Once your yellow marker is dry, dab a little bit of glitter glue on top of a few of the dots. It adds texture and a real shimmer that will catch the light beautifully.
This is such an easy technique, but it makes a huge difference and kids absolutely love the result. With these coloring tips, you'll transform your sketch into a truly radiant piece of fairy art.
Oops! Fixing Common Drawing Wobbles
Every artist, no matter how experienced, makes mistakes. It’s totally normal and actually a huge part of getting better! When learning how to draw Tinkerbell, a few tricky spots might pop up, but don't worry, they’re all super easy to fix.
One of the most common challenges is getting her proportions just right. Sometimes her head ends up a little too big for her tiny body, or her wings look a bit small. If that happens, no big deal!
A simple trick I tell my students is to remember that Tinkerbell's wingspan should be about twice as wide as her body. Take a step back and look. If her wings seem a bit shy, just erase the outer edges and stretch them out a little further. Easy peasy.
Giving Her Face That Pixie Sparkle
Another little hiccup I see a lot is a flat-looking face, which can steal some of Tinkerbell's lively personality. This usually happens when her eyes are drawn like perfect, flat circles, almost like stickers placed on her face. A tiny change here makes all the difference.
My Favorite Quick-Fix: Instead of drawing flat circles for eyes, think of them as slightly curved, like you're drawing on the surface of a ball. This one small tweak instantly adds dimension and makes her face look more rounded and real. It's like magic!
Here are a couple of other common wobbles and how to fix them in a jiffy:
- Lopsided Eyes: Do her eyes look a little uneven? Go back to those faint guidelines you drew earlier. Make sure the tops and bottoms of both eyes are just touching the same horizontal lines.
- Stiff as a Board: If Tink looks a little robotic, try giving her back a gentle "S" curve instead of a straight line for her torso. For example, erase the straight line of her back and redraw it with a slight curve, as if she is leaning forward or twisting. This immediately gives her a more natural and playful pose.
Learning to spot what feels "off" and knowing how to gently correct it is what turns a good drawing into a great one. It’s these little adjustments that help build confidence and make drawing so much fun.
Ready to bring more characters to life? We have a massive library of coloring pages waiting for you over at Colortada. Find your next artistic adventure at Colortada today
