Welcome to the wonderfully creative world of printable coloring pages! If you're tired of the limited options in store-bought books, you're in the right place. An entire universe of intricate mandalas, whimsical animals, and your favorite characters is waiting just a click away.
This guide is designed to help you turn those digital files into beautiful, physical pieces of art you can actually color. We'll cover everything from finding the best files to actionable tips for making your colors pop.
Your Guide to Flawless At-Home Coloring Pages
I'll show you everything from finding the best high-quality designs and picking the right paper to navigating your printer settings like a seasoned pro. Consider this your roadmap to avoiding those common, frustrating printing mishaps.
We've all been there—you print a fantastic design you were excited about, only to see blurry lines or watch your markers bleed right through the paper. A few simple tweaks beforehand can prevent all that, making sure your creative time gets off to a perfect start.
Key Steps for a Perfect Print
Before we get into the nitty-gritty, let's talk about the core things you need to get right. Honestly, mastering these three elements is 90% of the battle for a great coloring experience.
- File Quality is Everything: Always start with a high-resolution file. PDFs are generally your best bet for keeping those lines crisp and clean. A low-quality JPG will look pixelated no matter how great your printer is.
- The Right Paper Matters: Don't just grab a sheet from your printer's main tray. Stepping up to a thicker paper like cardstock makes a huge difference, preventing bleed-through and giving your finished page a much more premium feel.
- Dial-in Your Printer Settings: This is a big one. Simply changing the print quality to 'Best' or 'High' and telling the printer what kind of paper you're using is a game-changer. It ensures the printer uses the right amount of ink for crisp, dark lines.
A great coloring session begins long before you pick up a crayon. It starts with a crisp, clean, and correctly printed page that’s ready for your artistic touch.
Practical Example: Imagine printing a detailed floral pattern. On flimsy copy paper with 'draft' quality settings, your markers will bleed and the lines will look faint, creating a muddy mess. But print that same file on a sturdy 100 gsm cardstock at the highest quality setting, and you'll get a page with sharp outlines worthy of your best colored pencils or markers.
Ready to find your next project? You can explore our huge library of high-quality, printable coloring pages right here.
Finding and Choosing High-Quality Designs
A great coloring experience always starts with a great digital file. It’s honestly the single most important factor for getting those sharp, clean lines we all want, instead of a blurry, pixelated mess. Your mission is to find designs that were actually created with printing in mind.
The rise of home printers has made this easier than ever. Think about it: back in 2015, over 70% of parents in North America were already printing coloring pages at home. The internet has basically become a massive, on-demand library for creative activities, which is fantastic for those moments when inspiration strikes.
What to Look For in a File
When you're searching online, you'll want to keep an eye out for files specifically designed to be printed. This really just means knowing which file types to look for and what keywords to use in your search.
Here’s what I’ve learned makes a huge difference:
- File Type Matters: Always, always go for PDF files if you have the choice. PDFs are built to hold their quality and formatting no matter what device or printer you're using. That’s how you get those perfectly crisp lines.
- Search Smart: Be specific! Instead of just "dinosaur coloring page," try searching for "high-resolution dinosaur coloring PDF" or "printable vector line art for coloring." These terms help you cut through the low-quality images and find files that won't look fuzzy once printed.
- Check the Source: Stick to reputable sites. Places like Colortada or marketplaces where artists sell their work directly are your best bet for high-quality files. A random image search is a total gamble. For a great starting point, check out our collection of cartoon character coloring sheets.
The difference between a low-res JPG and a high-quality PDF is like night and day. One looks like a fuzzy photocopy, which is just frustrating, while the other feels like a page from a professionally printed book. It's a joy to color.
Actionable Insight: Before downloading, try to zoom in on the image preview on the website. If the lines stay sharp and don't get blocky or blurry, it's a good sign that you've found a high-quality file that will print well.
If you want some ready-to-go options, you can download these free children's emotions colouring sheets — they're perfect for younger kids. Taking that extra minute to find the right file from the start will save you a ton of disappointment later.
Choosing The Right Paper For Your Coloring Project
Believe it or not, the paper you print on can completely change the game. If you're still using that flimsy copy paper from your office printer, making a switch is the single best thing you can do to elevate your coloring. The right paper not only feels better to work on but also makes your art supplies perform the way they were designed to.
Think of it like this: your colored pencils, markers, and pens are the artists, and the paper is their stage. A slick, smooth surface helps markers glide effortlessly, while a paper with a bit of texture gives colored pencils something to grip onto.
Match Your Paper To Your Medium
Getting this part right is key to avoiding common frustrations, like markers bleeding through the page or pencils that just won't blend no matter how hard you try. Let's look at what works best for different tools.
For Colored Pencils: You're looking for paper with a bit of "tooth"—a fine texture that grabs the pigment—but is still fairly smooth. A simple cardstock (around 176 gsm) is a fantastic and affordable option. It’s sturdy enough to handle multiple layers of color for blending and shading without tearing.
For Markers (like Copic or Sharpie): Alcohol-based markers are famous for bleeding through paper. To stop that from happening, you need a very smooth, coated paper that keeps the ink sitting on the surface. Look for specialty marker paper or a heavy, ultra-smooth cardstock (200 gsm or higher). This will keep your colors bright and your lines sharp.
For Watercolors or Gel Pens: Anytime you introduce water or wet ink, you need paper that won't buckle or disintegrate. Mixed-media paper or watercolor paper is your best friend here. It's built to absorb moisture, giving you a stable canvas for all sorts of creative techniques.
My Go-To Tip: I always print a small corner of the design on a few different paper types before committing. A quick test scribble tells me everything I need to know about how the paper feels and how my tools will behave. It’s a simple step that saves a lot of ink and potential disappointment.
To help you visualize the perfect match, here's a quick guide to pairing your coloring tools with the right paper.
Paper Selection Guide for Coloring Tools
| Coloring Tool | Recommended Paper Type | Key Benefit |
|---|---|---|
| Colored Pencils | Cardstock (176 gsm) | Has enough "tooth" to grab pigment for easy layering and blending. |
| Alcohol Markers | Smooth Cardstock (200 gsm+) or Marker Paper | Prevents ink from bleeding through and keeps colors vibrant. |
| Gel Pens | Mixed-Media Paper | Sturdy enough to handle wet ink without buckling or smearing. |
| Watercolors | Watercolor Paper | Highly absorbent and designed to withstand water without falling apart. |
Choosing the right paper sets the foundation, but you also need to make sure the image you're printing is top-notch.
This handy visual walks you through the technical side of things, from resizing your image to checking the final print quality.
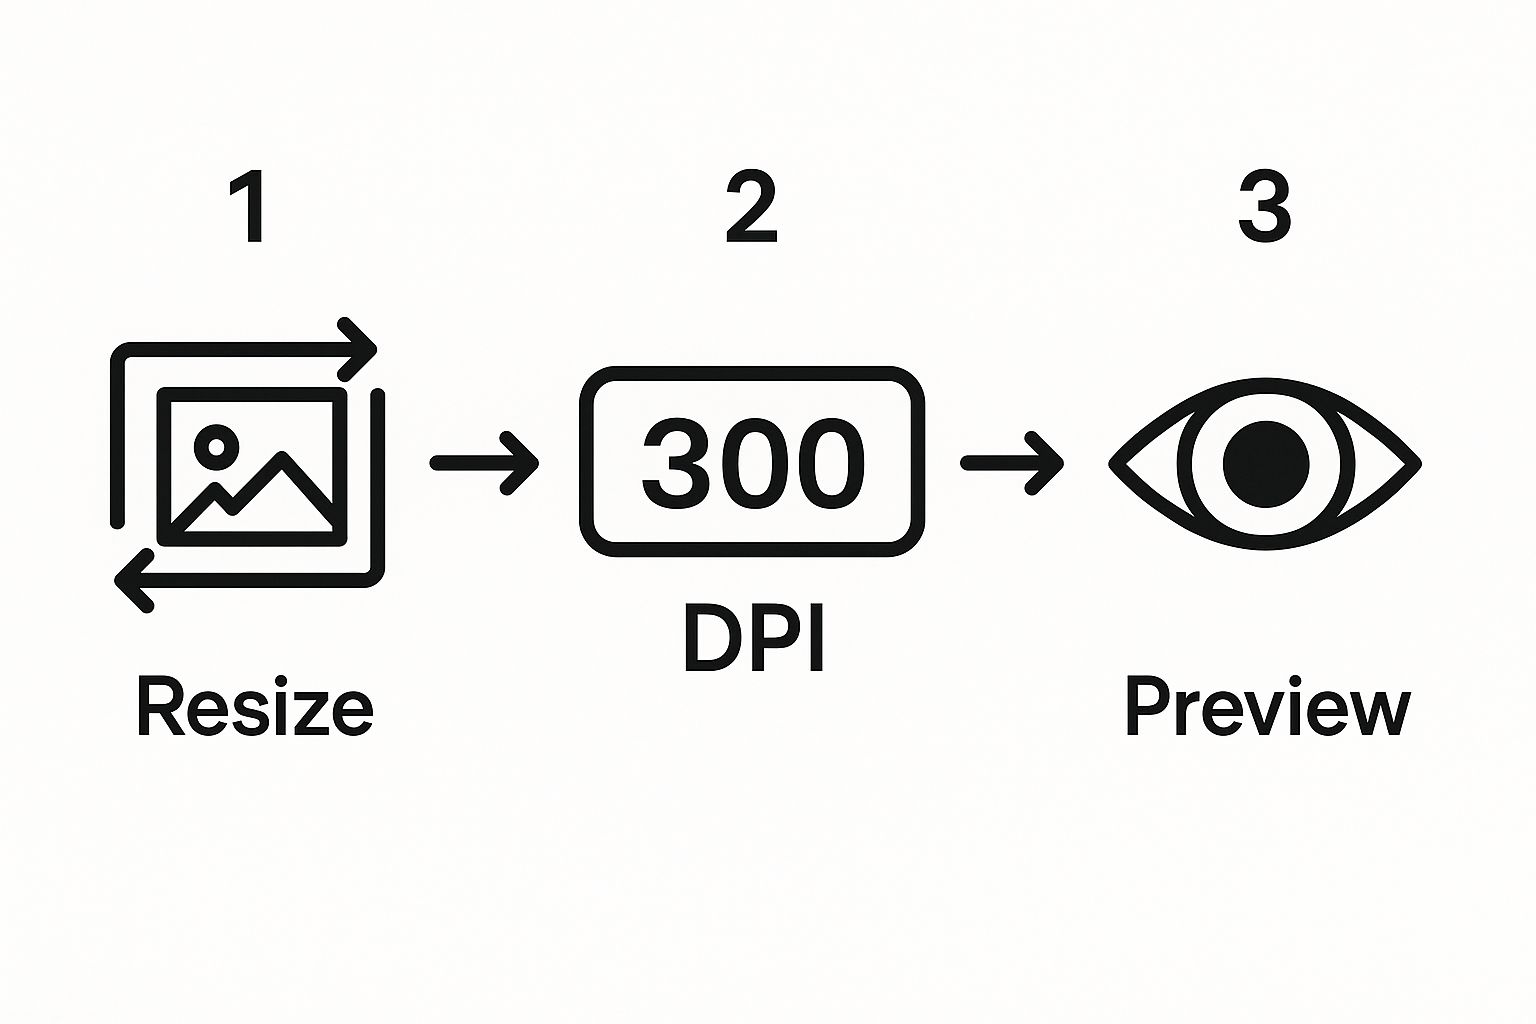
Once you've got the technical details sorted, your beautifully chosen paper will get the high-quality image it deserves. For more ideas on what to use, take a look at our guide on the best art supplies for kids—it’s the perfect next step after picking your paper.
Nailing Your Printer Settings for Perfect, Crisp Lines
You’ve picked a gorgeous design and have the perfect paper in hand. The last hurdle is the printer settings. This is where so many people get tripped up, ending up with a blurry mess instead of a beautiful page. But once you know what to look for, getting it right is actually pretty simple.
Think of it this way: your printer settings are the instructions you're giving the machine. If you've loaded up some heavy cardstock but you tell the printer it's just plain copy paper, it won't use the right amount of ink. This can lead to smudged lines or faint, disappointing results. Giving clear instructions gets you a flawless print every time.
The Most Important Settings to Check
Before you click that "Print" button, always take a quick look at these settings. They're the difference between getting those sharp, clean lines we all love and a print that just doesn't look right.
Print Quality: Your printer probably defaults to 'Standard' or 'Draft'. You'll want to change this to 'High' or 'Best'. This simple switch tells the printer to take its time and use more ink, which is the key to getting solid, truly black lines instead of something faded or streaky.
Paper Type: This is a big one. Be specific! If you're using cardstock, find the 'Cardstock' or 'Heavyweight Paper' option. If it's matte photo paper, choose that. The printer adjusts ink flow and drying time based on the paper's thickness and absorbency, preventing smudges.
Color Mode: Since coloring pages are just outlines, there's no need to waste your pricey color ink. Switch the setting to 'Grayscale' or 'Black and White'. This forces the printer to use only the black ink cartridge, saving you money and giving you those crisp lines you want.
The single biggest mistake you can make is treating all prints the same. Taking just 30 seconds to adjust the Quality and Paper Type settings is the difference between a crisp, professional page and a blurry, disappointing one.
Getting this right has a real impact on your wallet, too. Printing just one standard coloring page can cost between 4 to 15 cents in ink. For families that print a lot, these pages can make up nearly 12-15% of the entire household's yearly ink usage. Switching to grayscale is an easy way to keep those costs down. You can discover more insights about the home printing market and its trends to see the bigger picture.
Here’s a quick peek at what a typical print menu looks like on a Mac, with the key settings circled.
As you can see, the options are usually front and center, making them easy to find and change.
Getting the Sizing Just Right
The other critical choice you'll make is how the design fits on your page. You'll typically see two main options:
'Actual Size' (or 100%): This is usually the best choice. It prints the design exactly as the artist created it, with no weird stretching or squishing.
'Scale to Fit' (or 'Fit to Page'): This option will automatically resize the image to fill the paper you’ve selected. The problem is, it can sometimes crop off the edges or distort the proportions of the artwork.
Actionable Insight: If you find a design's lines are too thick for your taste, try printing it at 75% or 80% of its 'Actual Size'. This will make the lines appear finer, which is perfect for detailed work with sharp pencils.
Time to Add Some Color! Tips for Your Freshly Printed Pages
Alright, you've got your beautifully printed page, and now the real fun starts. Coloring on different paper stocks is a whole different world compared to a standard coloring book—it’s your chance to really experiment and make the piece your own.
It's no surprise that the adult coloring market has exploded into a $1.5 billion global industry. The ability to print at home is a huge part of that. In fact, an estimated 40% of adult coloring fans print their pages, drawn in by the instant gratification and the freedom to customize everything. If you're curious, you can check out the full research on adult coloring books to see just how big this trend has become.
Making the Most of Your Favorite Tools
The tools you choose to color with will totally change your approach. Each one behaves a little differently depending on the paper you’ve selected and the ink your printer used.
Colored Pencils: The secret to getting those gorgeous, smooth gradients is all about layering. Coloring Advice: Don't press hard on your first layer. Start with light, even strokes to map out your colors. Gradually increase the pressure with each subsequent layer to build depth and blend colors seamlessly. For example, to color a red apple, start with a light layer of pink, add a medium red over it, and finish with a dark red or brown in the shadow areas.
Markers: A quick heads-up if you printed with an inkjet: do a quick smudge test on a small corner first. Some water-based inks can run when they come into contact with marker tips. A quick blast with a hairdryer on low can help set the ink and prevent any smearing.
Here's a little trick I've picked up over the years: try printing your designs on toned paper. A light gray, tan, or even a sheet of kraft paper can make your colors absolutely sing. It gives you a built-in background that makes the whole piece feel more cohesive and professional right from the get-go.
Tackling Common Printing Problems
Even with the best intentions, printing can sometimes throw you a curveball. It happens to all of us. Don't worry, though—most of the time, the fix is surprisingly simple. Let's walk through some of the questions I hear most often from people just getting started with printing their own coloring pages.
Why Are My Coloring Pages Coming Out Blurry or Pixelated?
This is a classic issue, and 9 times out of 10, it's about the quality of the file you started with. A low-resolution image is always going to look fuzzy on paper, no matter how fancy your printer is. The best way to sidestep this problem is to stick with high-resolution PDF files whenever you can.
When you're hunting for new pages online, try adding keywords like "high-res" to your search. It also pays to dive into your printer settings before you hit 'print'. Make sure the quality is set to 'High' or 'Best' and not 'Draft' mode, which is designed to save ink but sacrifices a lot of detail.
Can I Change the Size of a Coloring Page?
Of course! This is one of the best parts about printing at home. Your printer's software gives you a ton of control. You could, for instance, print two smaller versions of a design on one sheet of paper—perfect for a travel-sized coloring book. Or maybe you want to zoom in on one specific part of a complex mandala to really focus on the tiny details.
Just a heads-up: be careful about enlarging a low-quality image too much. When you stretch a JPG or PNG, you'll start to see those dreaded jagged, pixelated lines. High-quality PDFs, on the other hand, are built to be resized and will keep their clean, sharp lines much more effectively.
The freedom to resize is a game-changer. It lets you take any design and adapt it for different projects, paper sizes, or even just for your mood that day.
What’s the Most Budget-Friendly Way to Print a Lot of Pages?
Coloring can be an addictive hobby, but the printing costs can sneak up on you. The single best thing you can do to save money is to always print using the 'Grayscale' or 'Black and White' setting. This tells your printer to only use black ink, which is significantly cheaper than color cartridges.
Here are a few other tricks I've picked up:
- For simple designs for the kids, switch to 'Draft' quality. It uses way less ink and they'll never notice the difference.
- Buy your favorite paper in bulk. If you know you love coloring on cardstock, getting a large pack will slash the per-page cost.
- If you're a serious colorist printing hundreds of pages, a laser printer could be a smart investment over the long haul. Toner cartridges often have a much lower cost-per-page than inkjet ink.
Feeling ready to put this advice to the test? Your next masterpiece is waiting for you in the huge library at Colortada. They have countless high-quality, ready-to-print coloring pages.
Go ahead and explore the Colortada collection to find your next project.
