The first thing to do when you find crayon on clothing is to scrape off any excess wax with something dull, like a butter knife. Then, you'll want to treat the greasy stain with a good dish soap or a solvent before washing it in the hottest water the fabric can safely handle. For example, if you find a big chunk of red crayon on a pair of denim jeans, your first move is to gently pry that chunk off before doing anything else.
Crucially, never, ever put a crayon-stained item in a hot dryer. That heat will lock the stain in for good.
Your Crayon Stain Emergency Action Plan
It's a classic laundry room nightmare: you open the dryer and find a rainbow of melted crayon all over a fresh load of clothes. Before you panic, take a breath. This is a fixable problem, I promise.
The trick is to act fast and follow a simple scrape, treat, and wash process. Think of it as first aid for your fabric—doing it right from the start prevents the mess from getting worse. For a deeper dive into tackling other common messes, you can explore these general stain removal techniques.
Dealing with a waxy, colorful mess is a surprisingly common household headache. The good news? With prompt action, the success rate for getting these stains out completely is around 85%.
Here's a quick rundown of what to do the moment you spot the crayon catastrophe.
Quick Guide for Crayon Stain Removal
| Action | Why It Matters | Tools You'll Need |
|---|---|---|
| Isolate the Garment | Prevents the melted wax and color from spreading to other clothes in the load. | Your hands! |
| Scrape Off Excess | Removes the bulk of the wax, making the stain treatment more effective. | Dull knife, credit card, or spoon. |
| Avoid Heat (Dryer) | Heat melts the wax deeper into the fabric fibers, setting the stain permanently. | A clothesline or drying rack. |
| Prep the Area | Stops the oily stain from bleeding through to the other side of the fabric. | Cardboard or a stack of paper towels. |
Following these initial steps sets you up for success when you move on to the actual stain treatment.
Your Immediate First Steps
When you first find the stain, your primary goal is to contain that waxy mess and stop it from setting. Heat is your biggest enemy right now. Pull the affected piece of clothing out of the pile immediately to keep the crayon from smearing onto anything else.
Here’s exactly what to do:
- Separate the stained item right away. For instance, if you see a green smear on a polo shirt, pull it out and check the other clothes it was touching for any transferred color.
- Keep it out of the dryer. This is the golden rule. The intense heat will melt the wax and pigment deep into the fibers, and you’ll have a permanent stain on your hands.
- Take a look at the stain. Is it a solid chunk of crayon clinging to the fabric, or is it a melted, smeared mess? The state of the wax will slightly change how you start.
The single biggest mistake people make is tossing the item in the dryer. Always, always air-dry crayon-stained clothing until you are 100% sure the stain is gone.
Getting the Fabric Ready for Treatment
Before you start applying any stain removers, you need to prep the garment. Lay it flat and slip a piece of cardboard or a thick stack of paper towels inside the item, right behind the stain.
This simple barrier is a game-changer. It prevents the oily, colorful stain from soaking through to the other side of the fabric while you’re working on it.
Removing the Physical Wax Before You Wash
Before you even think about throwing that crayon-stained shirt in the wash, you’ve got to tackle the wax itself. Getting the solid, waxy part off the fabric first is probably the most critical step in this whole operation. Your approach will change depending on what you're up against—a big, hardened glob or a stain that's already melted and smeared.
If you’re staring at a thick chunk of crayon, the last thing you want to do is grind it deeper into the fibers. Find a dull tool around the house, like a butter knife, the edge of a spoon, or even an old gift card. Your goal is to gently scrape and lift the wax away from the fabric. It’s amazing how much you can get off just by doing this.
Taking the time for this prep work stops the crayon from melting and spreading into a bigger, more colorful disaster once you start the cleaning process.
For Hardened Blobs, Scrape Gently
Let's say you've got a bright blue crayon chunk stuck like glue to your kid's favorite white tee. Lay the shirt on a flat, hard surface. Take that old credit card and carefully work its edge under the wax, using a flicking or prying motion. Always work from the outside of the stain toward the center—this keeps you from accidentally making it bigger.
The real trick here is patience. You want to lift the wax off the fabric, not scrub it in. Think "separate," not "smear."
For Melted-in Stains, Use the Freezer
What about those nightmare stains where the crayon has already melted in? This happens all the time, especially after a piece of clothing has been sitting in a hot car or a stray crayon made its way into the dryer. Trying to scrape a melted stain is a recipe for a smeared, waxy mess.
This is where your freezer comes to the rescue. Pop the stained item into a plastic bag and let it sit in the freezer for a good 30 to 60 minutes. The cold makes the wax hard and brittle. Once it's frozen solid, you can usually just snap or chip off the waxy residue with your fingers or a dull knife. This gets rid of the bulk of the problem, leaving you with just the color pigment to treat. This little trick is a game-changer for dealing with melted crayon stains.
If you’re dealing with this, you’re not alone. A 2020 survey found that a whopping 43% of parents with young kids tackle crayon stains every month, and most of them start with home remedies just like this. You can find more of these useful common household stain-fighting tactics.
Using Household Items to Lift the Stain
Once you've scraped or frozen off the solid crayon bits, you're left with that telltale colorful, oily residue. This is where the real work begins. But don't worry, you probably have everything you need right in your kitchen—no harsh chemicals required.
One of my go-to methods involves a good, grease-fighting dish soap. Think about it: if it can cut through bacon grease, it can definitely handle the waxy oils in a crayon. Just apply a small dab directly to the stain and grab an old toothbrush. Work the soap into the fabric with gentle, circular motions to really break down the pigments.
This handy visual guide can help you figure out the best way to tackle the initial mess, whether you're dealing with a solid lump of wax or a melted-in smear.
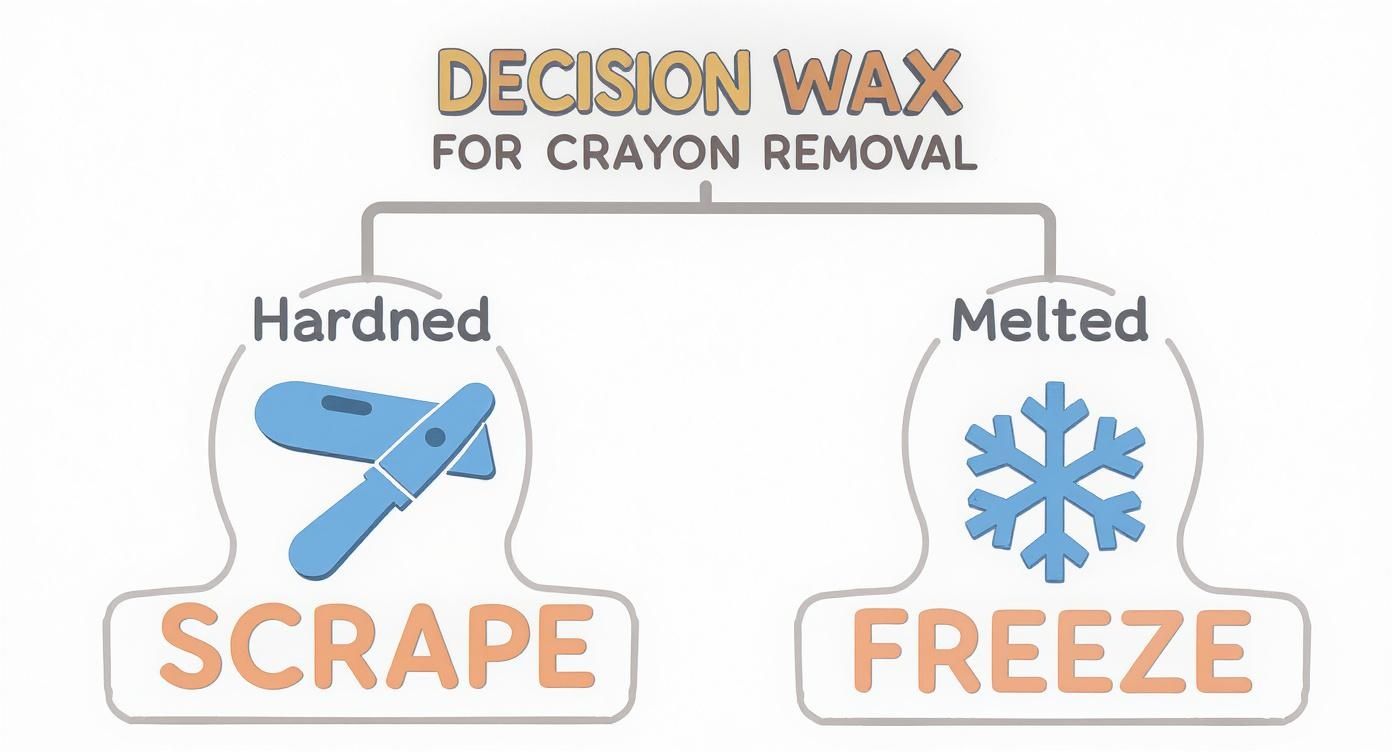
The main thing to remember is that your first move depends entirely on the state of the wax. You'll want to scrape off solid blobs, but it's better to freeze melted smears first to make them brittle.
Solvents, Soaps, and Gentle Acids
Sometimes, dish soap alone isn't quite enough for a really stubborn, set-in stain. In those cases, you might need something with a little more oomph.
A surprising but incredibly effective tool is a can of WD-40. It's designed to be a lubricant, but it works wonders at dissolving the waxy part of the crayon. Before you spray anything, though, slide a piece of cardboard or an old towel inside the garment, right behind the stain. This is a non-negotiable step—it prevents the oily solvent from seeping through and creating a whole new stain on the other side.
Pro Tip: Always place a protective barrier behind the stain when using any kind of solvent. Trust me, you don't want to solve one problem just to create another on the back of the shirt.
Spray the WD-40 lightly, let it sit for five to ten minutes, and then work in some dish soap right on top of it. The soap helps break down both the solvent and the last of the waxy stain.
If you're dealing with more delicate fabrics or just prefer to avoid petroleum-based products, plain white vinegar is a fantastic alternative. Its mild acidity is great for breaking down the crayon's pigments without being too harsh on your clothes.
- Start by dampening a clean cloth with the white vinegar.
- Blot the stain gently. Always work from the outside edge of the stain inward to keep it from spreading.
- Let it sit for about 15 minutes, then rinse the spot with cool water.
Choosing the right household item really comes down to the fabric you're working with and just how bad the stain is. Let's break down the options.
Comparing Household Stain Removers
Here’s a quick comparison of these common household heroes to help you decide which one is right for your particular crayon catastrophe.
| Solution | Best For | Pro Tip | Cautions |
|---|---|---|---|
| Dish Soap | Everyday fabrics like cotton and polyester; fresh stains. | Choose a blue, grease-cutting formula. It's tough on oil but gentle on fabric. | Avoid soaps with lotions or bleach, as they can affect the fabric's color. |
| WD-40 | Tough, set-in stains on durable fabrics like denim or canvas. | Apply dish soap on top of the WD-40 before washing to remove the solvent's residue. | Can leave an oily mark if not washed out properly. Always test on an inconspicuous spot first. |
| White Vinegar | Delicate fabrics like wool or silk; natural fibers. | Works best on the pigment part of the stain. You may need dish soap for any remaining oily residue. | Its acidic nature can be too harsh for some very delicate synthetics. Dilute with water if unsure. |
No matter which method you use—dish soap, a solvent, or vinegar—the goal is to break down that stain before it hits the washing machine. Once you've treated the spot, you're ready to move on to the final, and most important, step in learning how to remove crayon from clothing: the final wash.
The Final Wash to Erase the Stain Completely
You've scraped, blotted, and spot-treated the crayon stain. Now it's time for the final, crucial step that will wash away any lingering traces for good. Think of this wash cycle as the victory lap—it’s what locks in your success and brings the fabric back to its former glory.

Here's one thing I can't stress enough: wash the treated garment by itself. Trust me on this. Any leftover waxy residue can transfer onto other clothes in the same load, and you'll suddenly have a much bigger, more frustrating laundry problem on your hands.
Setting Up the Perfect Wash Cycle
To really knock out what's left of the crayon, you need to bring the heat. The waxes and oils that make up a crayon melt away beautifully in hot water. Always check the care tag first, then select the hottest water setting the fabric can safely take. For a tough cotton t-shirt, this usually means the full "hot" cycle.
For some extra cleaning muscle, try adding one of these laundry boosters you probably already have at home:
- Oxygen Bleach: A scoop of color-safe oxygen bleach is fantastic for breaking down the last bits of stubborn color pigment without damaging your clothes.
- Baking Soda: Toss in about a half-cup of baking soda. It helps lift stains and does a great job of neutralizing any lingering smells from the solvents you used earlier.
- White Vinegar: Pour a cup of white vinegar where you'd normally put fabric softener. It helps cut through any soap residue and leaves the fabric feeling fresh.
The Golden Rule of Crayon Removal: Never, ever use a machine dryer until you are 100% certain the stain is gone. The high heat from a dryer will permanently cook any remaining oily or colored residue right into the fabric fibers, making it nearly impossible to remove.
Always let the garment air-dry first. Hang it up or lay it flat, and once it's totally dry, take a close look at the spot under bright, natural light. If you see even a shadow of the old stain, it's time to repeat the spot treatment and wash it again. A little patience now will save you from a permanent mark later.
For more creative ways to handle laundry day, check out these helpful laundry tips for the whole family.
Tips for Stress-Free Coloring and Fewer Stains
Let’s be honest, the best way to handle a crayon stain is to prevent it from ever happening. A little bit of prep work can transform coloring time from a potential laundry disaster into pure, creative fun for your kids. It’s all about setting things up for success.
One of my favorite tricks is the designated "art shirt." Just grab an old, oversized t-shirt and make it the official uniform for messy projects. This simple step gives your little artist total freedom, and you won't be hovering and worrying about their nice clothes.
Another lifesaver? Turn pre-laundry pocket checking into a game. Before you toss anything in the hamper, announce a "treasure hunt" for any forgotten crayons, rocks, or other mysterious items hiding in those little pockets. A 5-second check can save an entire load of clothes from a waxy, melted-on mess.
Smart Choices for Easier Cleanup
You can also make your life a lot easier just by being selective with your art supplies. Believe it or not, not all crayons are created equal, especially when it comes to washing them out. Remember that encouraging a child to respect their tools—like putting crayons back in the box instead of leaving them on the floor—is a great habit to build. It teaches them responsibility and reduces the chances of a crayon ending up in the laundry.
When it comes to prevention, choosing the right tools is everything. Washable crayons are made with ingredients that are designed to break down in water, which makes them infinitely easier to remove from fabric compared to traditional wax crayons.
Here are a few small adjustments that make a huge difference:
- Always Opt for Washable Crayons: Their formulas are made to dissolve in a normal wash cycle. They aren't completely foolproof, but they give you a major head start.
- Use a Craft Mat: A simple plastic or silicone mat is fantastic for protecting your table and containing the creative chaos to one spot.
- Create a Coloring Zone: Dedicate one specific area of the house for art. For some great ideas, check out our guide on how to organize craft supplies.
By putting these simple habits in place, you’ll spend a lot less time worrying about how to remove crayon from clothing and more time admiring your child's masterpieces. It’s a win-win for everyone.
Common Crayon Stain Questions Answered
Even when you know the basic steps for getting crayon out of clothes, you can still get thrown a curveball. Let’s tackle some of the most common questions that pop up during this colorful laundry challenge.
What If the Crayon Already Went Through the Dryer?
First, don't panic! This is one of the most common crayon-related laundry disasters, and it's almost always fixable. The dryer's heat sets the waxy stain, but you can actually use that same principle to reverse the damage.
Lay the stained item on an ironing board. You'll want to sandwich the stain between two clean paper towels—one underneath the fabric and one on top. Grab your iron, set it to warm (no steam!), and press it onto the top paper towel.
The heat will re-melt the crayon wax, which will then get soaked up by the paper towels. You’ll have to swap out the paper towels for fresh ones as they absorb the color. Just keep at it until no more wax comes off. After that, you'll probably see a faint color stain left behind. A little grease-fighting dish soap should take care of that before you toss it back in the wash.
Can I Use These Methods on Delicate Fabrics Like Silk?
You need to be extra careful here. High heat, vigorous scraping, and harsh solvents like WD-40 are definitely off the table for delicates.
For fabrics like silk or wool, your best bet is to start with the freezer method. This makes the wax brittle so you can gently flake most of it off. For the remaining color stain, spot-test a very mild cleaner (think diluted white vinegar or a pH-neutral soap) on a hidden area first. Never rub the stain; always dab it gently. Finally, hand wash the item in cold water and let it air-dry. When in doubt, especially with a valuable piece, a professional dry cleaner is the safest route.
Does the Crayon Color Make a Difference?
It absolutely can. Darker crayons—like reds, blues, and blacks—are packed with more concentrated pigments than lighter shades like yellow or pink. Naturally, these more intense colors are going to be more stubborn to lift from fabric.
The good news is that the process is the same. The only difference is that you might need to repeat the spot-treatment step a few times to fully remove a dark stain. For example, a black crayon mark on a khaki school uniform may require two rounds of dish soap treatment, whereas a light pink mark might come out after just one. Patience is your best friend here. Just make sure the stain is 100% gone before that piece of clothing sees the inside of a hot dryer again.
Crayon messes have a way of spreading beyond the laundry basket. If your little one's art project ended up on the floor, this guide on how to remove crayon stains from carpet has some great tips.
How Do I Clean Crayon Out of the Dryer Drum?
If a rogue crayon melted all over the inside of your dryer, cleaning the drum is a must before you dry another load. Once the dryer has cooled, grab a plastic spatula or an old credit card and carefully scrape off any larger chunks of hardened wax.
Next, you need to tackle the waxy film. Spray a clean rag with a little WD-40 (it works wonders on wax) or your favorite multi-purpose cleaner and give the entire drum a good wipe-down. To soak up any leftover residue, toss in a few old towels or rags and run a full cycle. After that, your dryer should be safe for your regular clothes again.
At Colortada, we believe creativity should be fun, not a chore. For endless inspiration without the laundry-day stress, explore our huge library of free, printable coloring pages perfect for artists of all ages. Visit https://www.colortada.com to find your next masterpiece.
