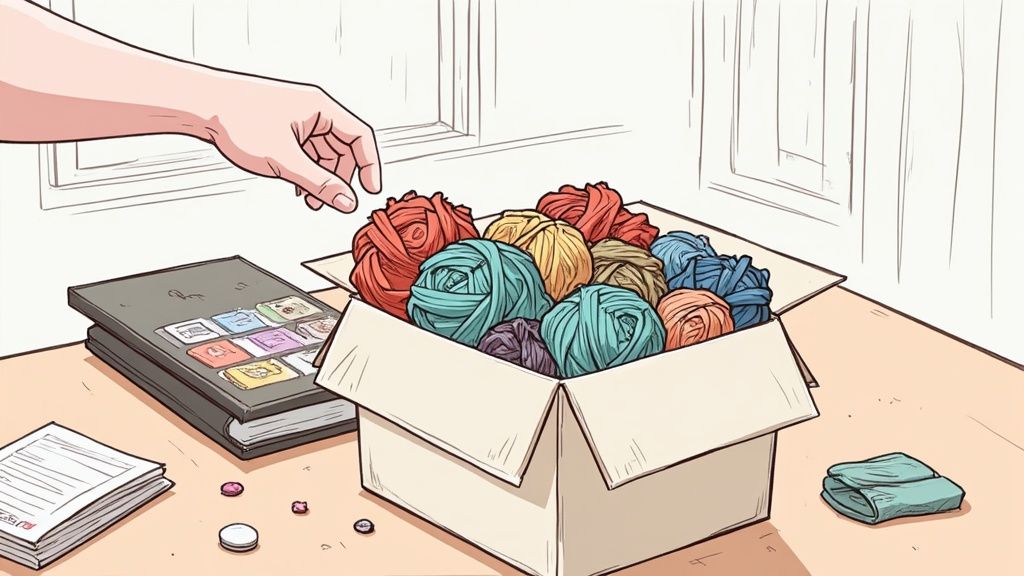
Before you buy a single bin or label, the most crucial first step in organizing your craft supplies is to simply see what you have. It’s tempting to rush out and buy cute containers, but a truly effective system starts with a full inventory of everything you own.
Conquering Craft Clutter: Where to Begin
Is your creative spark getting smothered by a mountain of fabric scraps, tangled yarn, and half-used paint tubes? You’re definitely not alone. The DIY craze has turned arts and crafts into a massive global market, projected to hit $87.38 billion by 2035. The flip side of that boom? A whole lot more stuff to manage.
It's a frustratingly common problem. In fact, some surveys have found that as many as 35% of crafters spend more time trying to find their supplies than actually creating. When clutter takes over, it’s easy to feel overwhelmed and abandon projects altogether.
The answer isn't a shopping spree for more storage. It's about laying a solid foundation by understanding exactly what you're working with. For a deep dive into the whole process, this guide on How to Organize Craft Supplies Like a Pro is a fantastic resource.
The Initial Sorting Process
First things first: you have to declutter before you can organize. This means pulling everything out. Empty those drawers, clear out the closets, and unpack those mystery boxes. Find a big open space—a large table or even the floor—and lay it all out.
Now, it’s time to make some decisions. As you go through each item, sort it into one of three piles:
- Keep: These are the supplies you love, use often, or have set aside for a specific project you're genuinely going to finish. For example, if you're a painter, keep the high-quality acrylics you use weekly, but question that set of oil pastels you haven't touched in a year.
- Donate: What about those supplies that are perfectly good but just not for you anymore? That yarn from a knitting phase that passed or the scrapbook paper from before you discovered painting can find a new home at a local school, community center, or thrift store.
- Discard: Let's get real. It’s time to say goodbye to the dried-out markers, hardened glue bottles, and tiny fabric scraps that are too small to be useful. An actionable tip: if a marker leaves a faint, streaky line, it's time to toss it.
This initial sorting stage can feel like a huge task, but breaking it down into these simple categories makes it much more manageable.
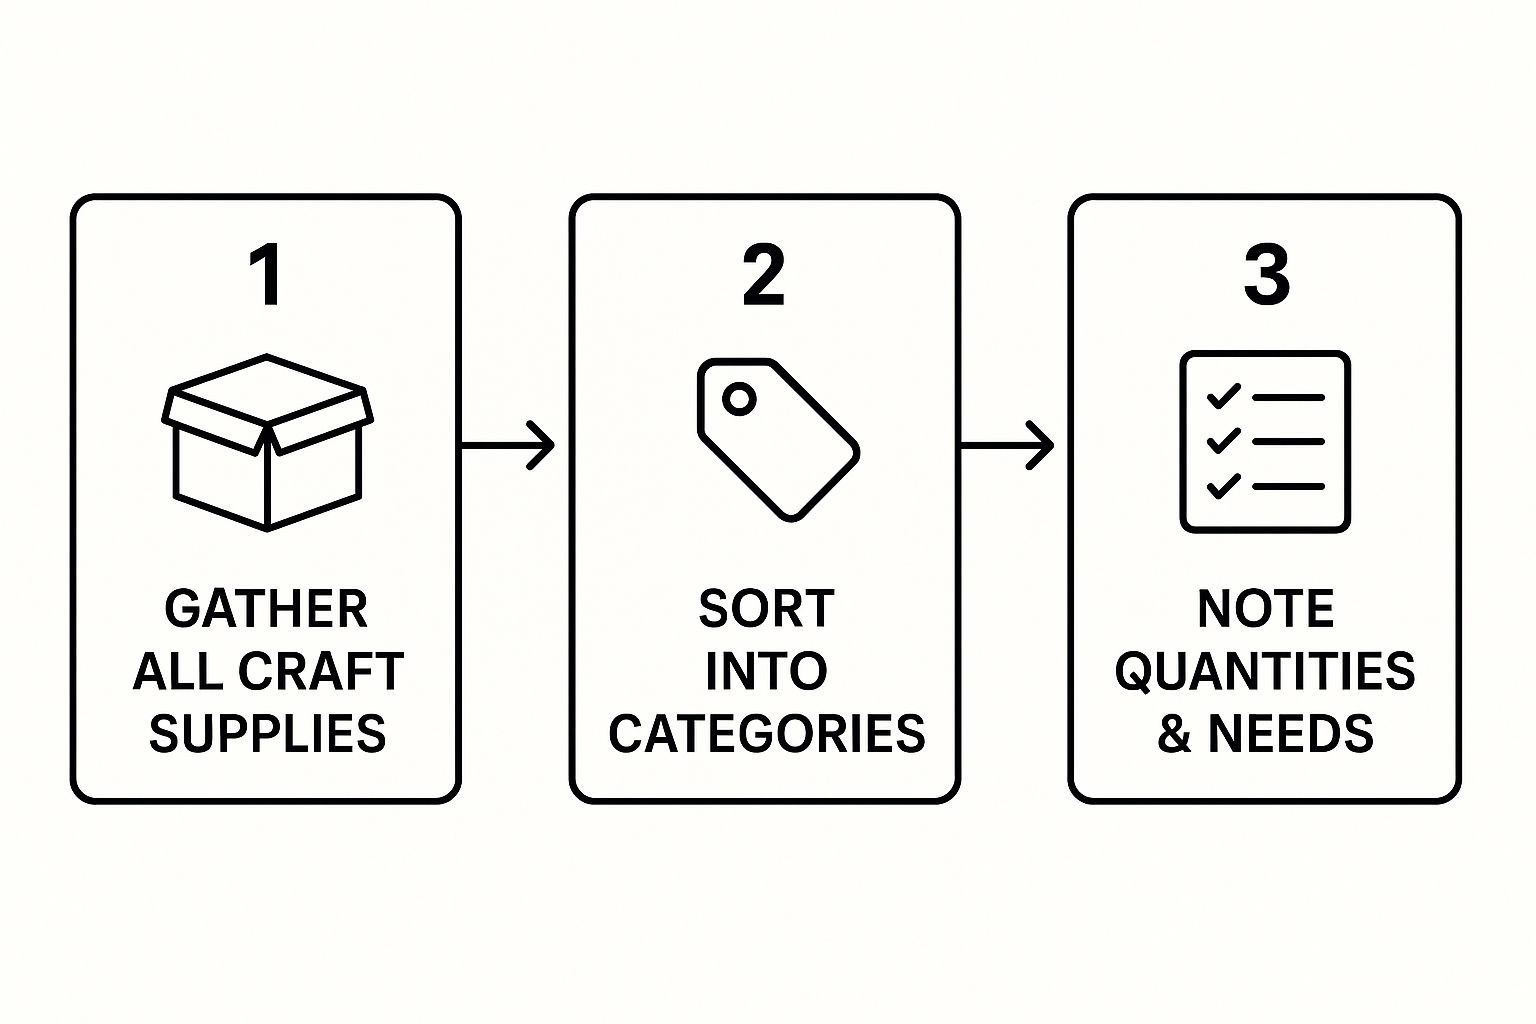
Thinking through these first few steps—gathering, sorting, and assessing—is what sets you up for long-term success.
To make this initial stage even clearer, I like to use a simple framework. Let's call it the "CRAFT" method.
The 'CRAFT' Decluttering Method at a Glance
| Step | Action | Key Goal |
|---|---|---|
| Collect | Gather every single craft supply into one central location. | To see the full scope of your inventory and prevent hidden clutter. |
| Review | Pick up each item and decide its fate: keep, donate, or discard. | To make intentional decisions about what earns a spot in your space. |
| Assess | Group the "keep" items into logical categories (e.g., all paints together). | To understand the volume and types of supplies you need to store. |
| Find Homes | Determine the best type of storage for each category. | To match the container to the supply for maximum accessibility. |
| Tag | Label every container, drawer, and bin clearly. | To ensure you can find what you need quickly and put it away easily. |
Following a straightforward process like this takes the guesswork out of that first big push and helps build momentum for the rest of your organizational project.
Sorting Your Supplies with a System That Works
Now that you've cleared out the clutter, you're left with the craft supplies you actually use and love. The next step is the fun part: creating a sorting system that makes sense to you and how you create. Don't just throw all your paints in one bin and call it a day. The real secret to a system you’ll stick with is organizing things based on how you reach for them.
The goal here is to get specific. Instead of broad categories like "paper," think about how you use it. A card maker might sort their paper by occasion (birthdays, holidays, thank you), while a painter might sort theirs by texture and weight. Your system should be as unique as your creative process.
Sort by Function and Frequency
A fantastic way to start is by grouping items according to how often you use them. Think about your daily drivers—the scissors you always grab, your favorite adhesives, that one perfect pencil. These essentials deserve the "prime real estate" in your craft space, right at your fingertips. For example, a lazy Susan on your desk with jars for your most-used pens, brushes, and cutting tools is a perfect actionable solution.
Items you pull out only once or twice a year, like holiday-specific stamps or that specialty fabric dye, can be tucked away on a higher shelf or in a closet. This simple logic saves you from rummaging through seasonal stuff just to find your trusty ruler.
Embrace Color-Coding and Theming
Let's be honest, organizing is more fun when it looks good. Color-coding is a visual and practical win-win. Assigning a color to a category gives your brain an instant shortcut. Maybe all your painting supplies go in blue bins, while drawing materials like pencils and pastels live in yellow ones. For coloring enthusiasts, arranging colored pencils or markers by color spectrum (ROYGBIV) in their containers not only looks inspiring but makes it much faster to find the perfect shade for blending.
This technique is a lifesaver for parents and teachers. When you’re organizing for kids, bright colors and simple picture labels empower them to find what they need and—even better—put it back themselves. If you need some ideas for stocking a kid-friendly art station, our guide on the best art supplies for kids has you covered.
The best way to simplify your creative process is to stop searching and start doing. A good sorting system removes the friction between having an idea and actually making it happen.
Master the Art of 'Kitting'
If you're like me and have multiple projects going on at once, "kitting" will change your life. The idea is simple: gather everything you need for a specific project and put it all together in its own dedicated kit—a box, a bag, or even just a tray.
- Sewing Project Kit: Could hold the pattern, fabric, matching thread, buttons, and any special needles required.
- Kids' Craft Kit: Might contain pre-cut shapes, googly eyes, pom-poms, and a glue stick for a specific "monster making" activity.
- Watercolor Painting Kit: Can include a small palette, a travel brush set, a watercolor paper block, and a jar for water, all ready to grab for an afternoon of painting.
Kitting is perfect for grab-and-go creativity. It keeps your main workspace from becoming a disaster zone and means that when inspiration strikes, you can jump right in instead of spending 20 minutes hunting for supplies.
Finding a Smart Home for Every Craft Supply
Once you've sorted everything into nice, neat piles, the real fun begins: giving it all a permanent home. Choosing the right storage is more than just tidying up; it's about creating a system that works for you, one that makes it easy to find what you need and even easier to put it away.
This isn’t just a niche hobby, either. The global craft supplies market is massive, valued at around $41.1 billion. As more people embrace crafting, the need for functional organization grows. It's no surprise that sales of reusable and eco-friendly containers have jumped by 20% annually—people want smart, sustainable solutions.
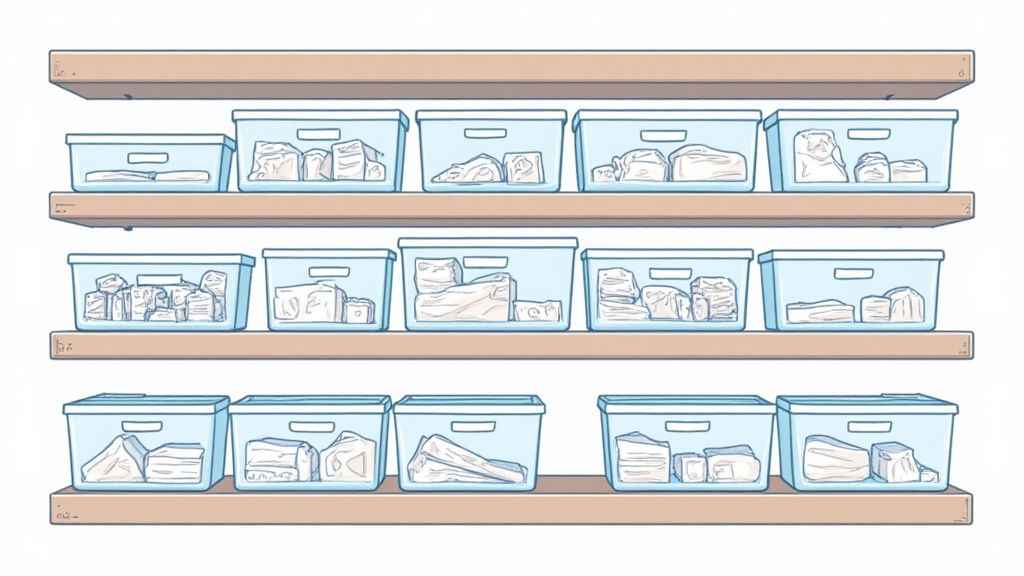
Think Vertically and See-Through
My number one rule for craft storage? If you can't see it, you won't use it. This is why I swear by clear, stackable bins. They're an absolute game-changer. No more digging through a dozen mystery boxes to find the glitter glue. For smaller, flat items like sticker sheets or vinyl cutouts, photo boxes are a perfect fit, keeping everything crisp and protected.
And don't forget to use your wall space! Going vertical is the best trick in the book, especially if you're working with a small area. A simple pegboard can instantly give you a dedicated spot for scissors, spools of ribbon, and hanging baskets full of markers. I’ve even seen people repurpose spice racks to hold tiny paint bottles. For more inspiration, check out these clever art supply storage ideas.
Match the Container to the Craft
The material of your container matters just as much as its shape and size. You wouldn't store delicate paper in a flimsy bag, right? Think about what you're storing and how it will be used.
- Durable Plastic: This is my go-to for anything messy. Paints, glues, modeling clay—plastic bins are a lifesaver, especially with kids. They’re a breeze to wipe clean and most are designed to stack. A practical example is using a plastic shoebox-sized container for all your acrylic paint tubes.
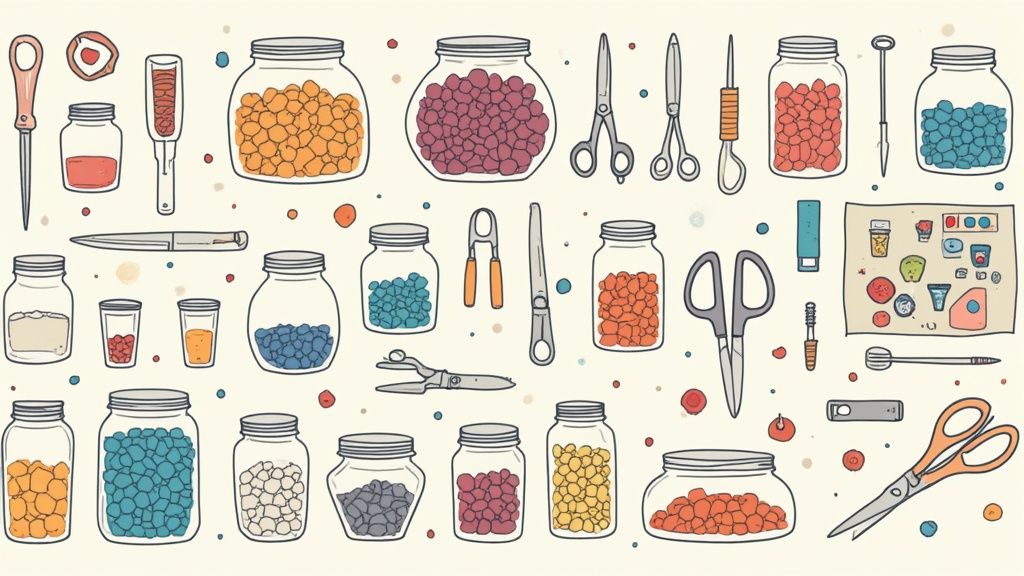
- Glass Jars: Nothing beats the charm of glass jars for displaying those beautiful, colorful bits and bobs. I love using mason jars for buttons, beads, and pom-poms. They look great on a shelf and keep tiny pieces from getting lost.
- Wood Drawers: For your more precious supplies—like specialty paper, sheets of felt, or high-quality drawing pencils—wood is the way to go. It offers solid protection and helps shield light-sensitive materials from fading over time.
When every single item has a place to live, your system practically runs itself. Cleanup becomes second nature. You'll spend less time frantically searching for that one skein of yarn and more time actually creating.
To get your own creative juices flowing, why not map out your ideal setup? You can even print some of our craft supplies coloring pages to play with color schemes and plan your beautifully organized new space. A great coloring tip is to use markers for the containers and colored pencils for the supplies inside to create a sense of depth and texture in your drawing.
Creating a Labeling System You Will Actually Use
Let's be honest, all that sorting and organizing is for nothing if you can't find the glitter when you need it. You've done the hard work of decluttering and containing; now it's time for the final, crucial step: labeling. This is what turns a room full of tidy boxes into a genuinely functional creative space.
The best system is one you'll actually keep up with, so think about what works for you. You don't need to rush out and buy a fancy machine. Seriously, a permanent marker on a strip of colorful washi tape is a cheap, cheerful, and surprisingly durable solution. If you're aiming for a cleaner look, a simple handheld label maker can create those sleek, uniform labels that really tie a space together.
Be Specific for Faster Finding
Vague labels are the enemy here. A bin simply marked "Paint" is a recipe for frustration when you’re hunting for your fabric paints and all you see are watercolors and acrylics. The real secret is to be specific enough to know what's inside with just a quick glance.
This one habit will save you so much time down the road. Try upgrading your labels with a bit more detail:
- Instead of "Yarn," try "Worsted Weight - Wool Blends."
- Instead of "Paper," use "8.5x11 Cardstock - Neutrals."
- Instead of "Beads," label it "Glass Seed Beads - Size 6/0."
- Instead of "Pencils," use "Watercolor Pencils" or "Graphite Pencils (2H-6B)."
That level of detail means you grab the right container the first time, every single time. No more guesswork.
Creative Labeling for Every Crafter
Your labels can be just as creative as your projects. For those bins that hold constantly changing items—like your current work-in-progress knitting project—chalkboard or dry-erase labels are fantastic. Just wipe them clean and rewrite as your projects change.
And if you’re organizing a kids' craft area, picture-based labels are an absolute game-changer. A quick drawing or even a photo of the pom-poms taped to the outside of their bin empowers little ones to find their own supplies. The best part? It also shows them exactly where to put things away. For a fun activity, let the kids draw the labels themselves—a crayon drawing for the crayon box, a marker drawing for the marker bin!
An effective label doesn't just tell you what's inside a box; it saves you the mental energy of having to remember. It’s a visual shortcut that keeps your creative momentum going.
Keeping Your Creative Space Tidy
Getting your craft room organized is a great feeling, but the real trick is keeping it that way. I've learned over the years that a truly functional creative space isn't the result of a single, massive cleanup. It comes from building a few simple habits that stop the clutter before it even starts.
One of the best habits I ever adopted is the 'one in, one out' rule. It's straightforward: every time you buy a new pack of markers or a fresh bolt of fabric, something old or unused has to go. This simple trade-off keeps your supplies from overflowing your storage and makes you really think about what you actually use.
A Few Good Habits Go a Long Way
Another game-changer is what I call the 10-minute reset. After you finish a project, just set a timer for ten minutes. Use that time to put tools back in their spots, wipe down your work surface, and put caps back on pens. You'd be amazed at what you can get done in just a few minutes. It's a small bit of effort that pays off big time.
Of course, messes still happen. A stray crayon can easily end up on a piece of clothing in the middle of a creative whirlwind. Knowing what to do in that moment is key. Our guide on how to get crayons out of clothes has saved more than a few of my favorite shirts.
I like to think of a creative space like a garden. It needs regular, gentle tending to really flourish. A little effort each day prevents the weeds of clutter from taking over.
Finally, I always schedule a few seasonal check-ins throughout the year. Your creative focus naturally shifts with the seasons, from holiday crafts in the winter to summer projects with the kids. These check-ins are the perfect time to go through your supplies, declutter what you no longer need, and adjust your setup to fit what you're working on right now.
It’s no surprise that Google Trends data shows spikes in searches for craft supplies around back-to-school and major holidays—everyone's needs change! You can dig into more of those fascinating market trends over at Accio.com.
Tackling Tricky Craft Supplies: Your Questions Answered
Even the most organized crafter runs into a few items that just don't seem to fit anywhere. You've got the basics down, but what about the really tricky stuff? Let's dive into some of the most common organizing puzzles I hear about all the time.
How Should I Store Paper and Vinyl?
Paper and vinyl are notorious for getting creased, bent, or faded if you're not careful. Keeping them flat and out of the sun is the name of the game.
For those stacks of 12x12 scrapbook paper, I swear by vertical file holders or simple stackable paper trays. They keep everything crisp and easy to flip through. When it comes to vinyl rolls, a wall-mounted holder (many people cleverly repurpose wine racks or plastic bag holders for this) is a fantastic solution—it gets them off your workspace and lets you see every color at a glance.
The golden rule? Keep both paper and vinyl away from direct sunlight to prevent their vibrant colors from fading over time.
What's the Best Way to Organize All Those Tiny Items?
Ah, the tiny things: beads, buttons, sequins, googly eyes, and that dreaded glitter. For these, compartmentalized containers are your absolute best friend.
You can find clear tackle boxes or jewelry organizers, especially the ones with adjustable dividers, at most craft stores. These let you create custom-sized spots for all your little bits and pieces. An actionable insight: look for containers with secure latches to prevent disastrous spills. If you want a more decorative look, try sorting everything by color into small, clear jars. Lining them up on a shelf not only looks great but also makes finding that perfect shade of blue a breeze.
A huge mistake I see people make is tossing tiny items into a container that’s way too big. Everything just slides around and becomes a jumbled mess. Finding the right-sized container is just as crucial as how you sort what's inside it.
Ready to put those newly organized crayons to use? At Colortada, we have a massive library of free, printable coloring pages featuring all your child's favorite characters and shows. Find their next coloring adventure on Colortada.com and keep the creative fun going
